home aboutme myart books shop
Showing posts with label necklace. Show all posts

Friday, 24 June 2016

Antlers Necklace Display

When I lived at home I kept my necklaces on this guitar neck hanger I made, but now that I live in a rented flat I needed something else to display my jewellery on that wasn't such a permanent fixture on the wall.

So I came up with a papier mache deer head with gold antlers!

Most tutorials that I saw online used a shop bought head but I wanted to make mine from scratch (and not spend any money). I started by cutting out the profile of a deer head from corrugated card and an oval shape for the back of the head; the part that would go against the wall.  

I then started packing scrunched up newspaper around the card, securing it with masking tape, to start making the shape of the head.

I papier mached a few layers of newspaper all over the head and added details like lips and nostrils on the final layer. I also did a couple of layers of kitchen towel, channeling my inner Neil Buchanan.

For the antlers I used some thick wire which I put through the head and out each side. 

I then covered the wire in aluminium foil because I'd seen someone do that on one of the tutorials and it seemed like a good idea. I papier mached over the foil, paying particular attention to where the antlers meet the head as this part needed to be very strong to keep the antlers up.

I decided to spray the antlers gold and paint the head white for a sleek, modern look.
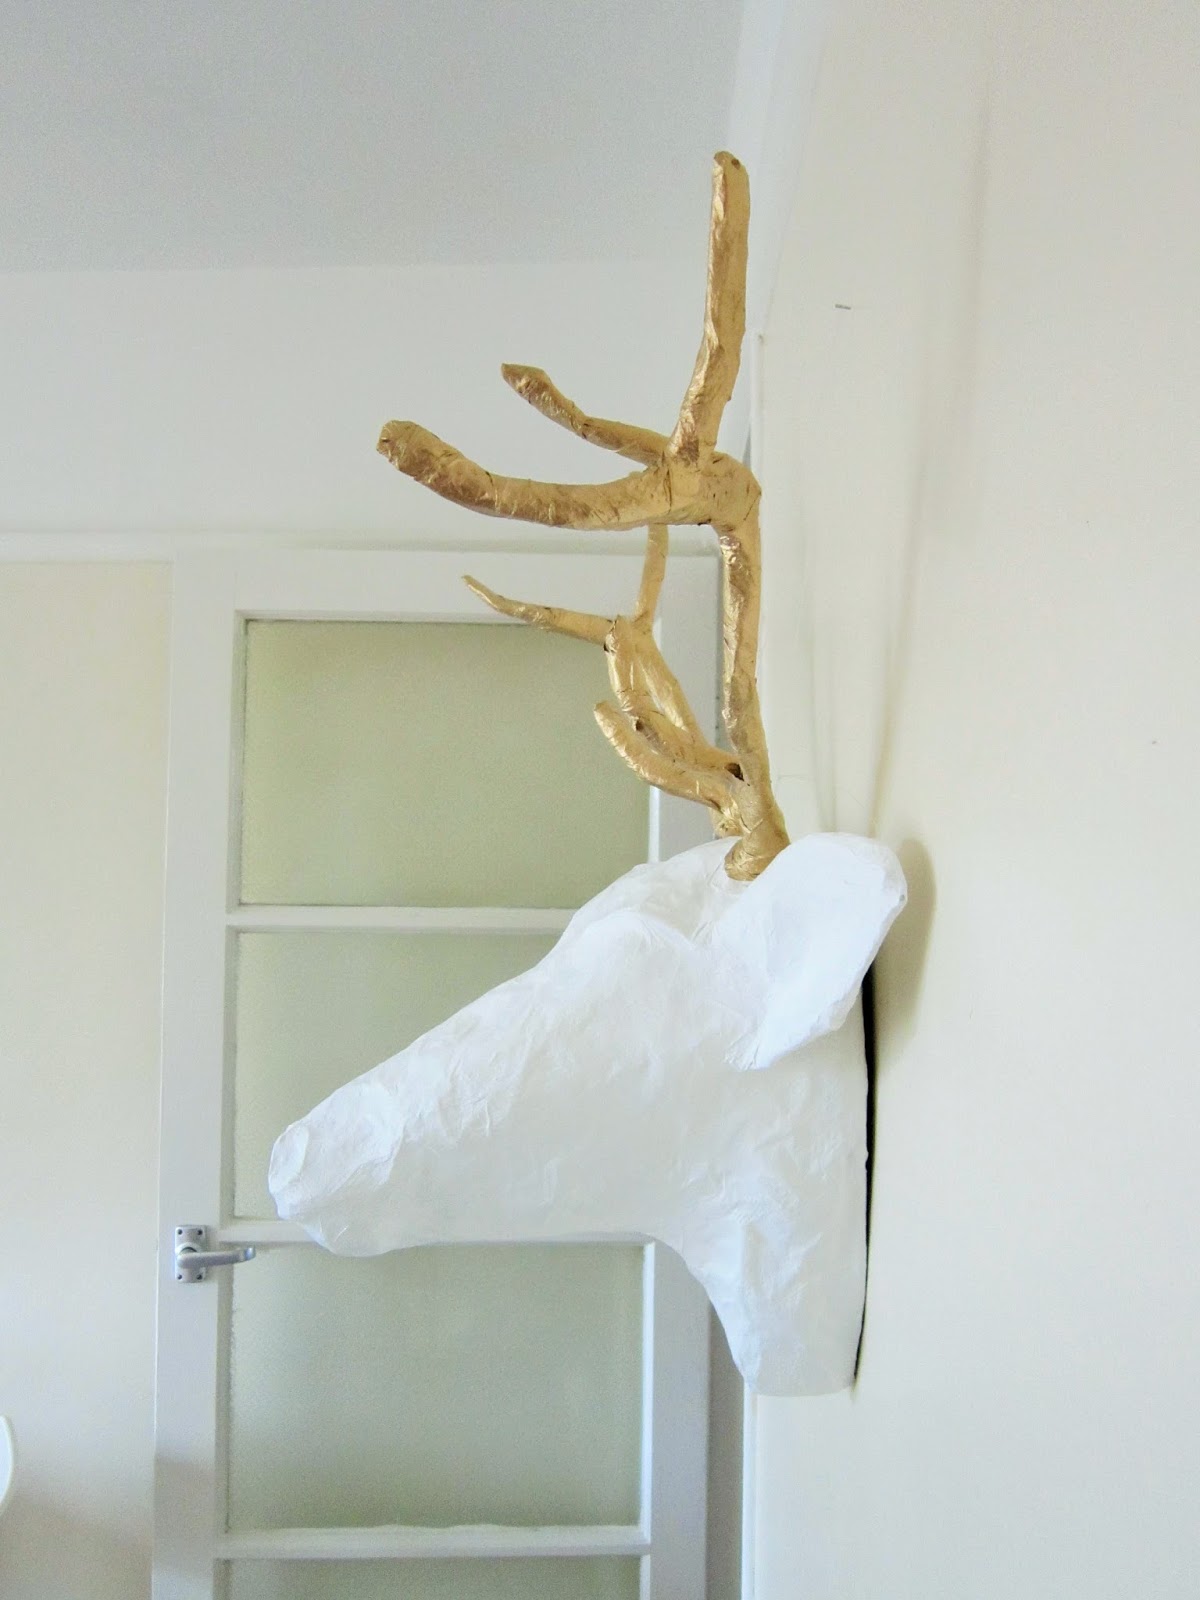

I hung the finished product on the wall by wrapping fishing wire around the base of the antlers and hanging it on an existing nail in the wall of my living room. 

This photo was taken a few days after I put my necklaces on and the antlers have dipped a bit under the weight of the jewellery but I don't mind because at least they haven't fallen off completely. I'm just happy that it looks like what it's supposed to.


I'm really please with how this turned and it adds a bit of character to the room whilst still being a functional piece.


Pin it!

Wednesday, 13 January 2016

Wood Burned Feather Pendant

One of my Christmas presents was a wood burning tool which my Mum bought for me before I'd even said I wanted one. She's psychic!
I tried it out after Christmas and made this feather pendant.

I used the tool on some scrap wood to get used to it before moving on to the feather. It came with lots of different nibs and I discovered I prefer using the flat one instead of the round, more pen like one. 

Once I'd burned in my design I cut the shape out using a saw and sanded the edges.

I added a few more burned details, especially around the edges.


I drilled a hole in the top, using another Christmas present; a mini drill, and attached a jump ring and chain.

I love how it turned out and now I'm on the look out for scraps of wood, or wooden things in general that I can burn into. Wooden picture frame? Wooden spoons? Entire decorated table?

Tuesday, 30 June 2015

Nail Varnish Marbled Pendants

So we've all seen the marbled nail varnish technique by now, right?
Well I wondered what else I could use the technique on and I decided on necklace pendants.

I started by making and baking some rough pendant shapes from white Sculpey.
Then I picked out some nail varnish colours and dropped them on to the water.

I gently dropped the Sculpey pendants into the water, scooped up the excess nail varnish, then picked out the pendant.
I inadvertently decorated my finger nails at the same time. I think I should have remembered the Vaseline trick.

After I'd sprayed the nail varnish with a coat of clear varnish I painted the edge of the Sculpey piece  with silver  acrylic paint. Then I drilled a hole in the top of the pendants and attached a jump rings and chain.

I also made a gold version with green and gold nail varnish.

What do you think?

Pin it!


Tuesday, 30 September 2014

Necklace Gift Cards

I'm still thinking of new ways to present my handmade necklaces for craft fairs and I came up with this for my fabric bows; make them look like bow ties!

I drew the shirt illustration on the computer and printed it on to card, with my shop and blog information on the back. I drew over the lines with a black pen for the handmade feel.
I put two holes in the front of the card to put the necklace chain through, and made little paper pockets to put the rest of the chain in which stick to the inside of the card.

I'll be selling the cards with an envelope making it super easy to give these as gifts.

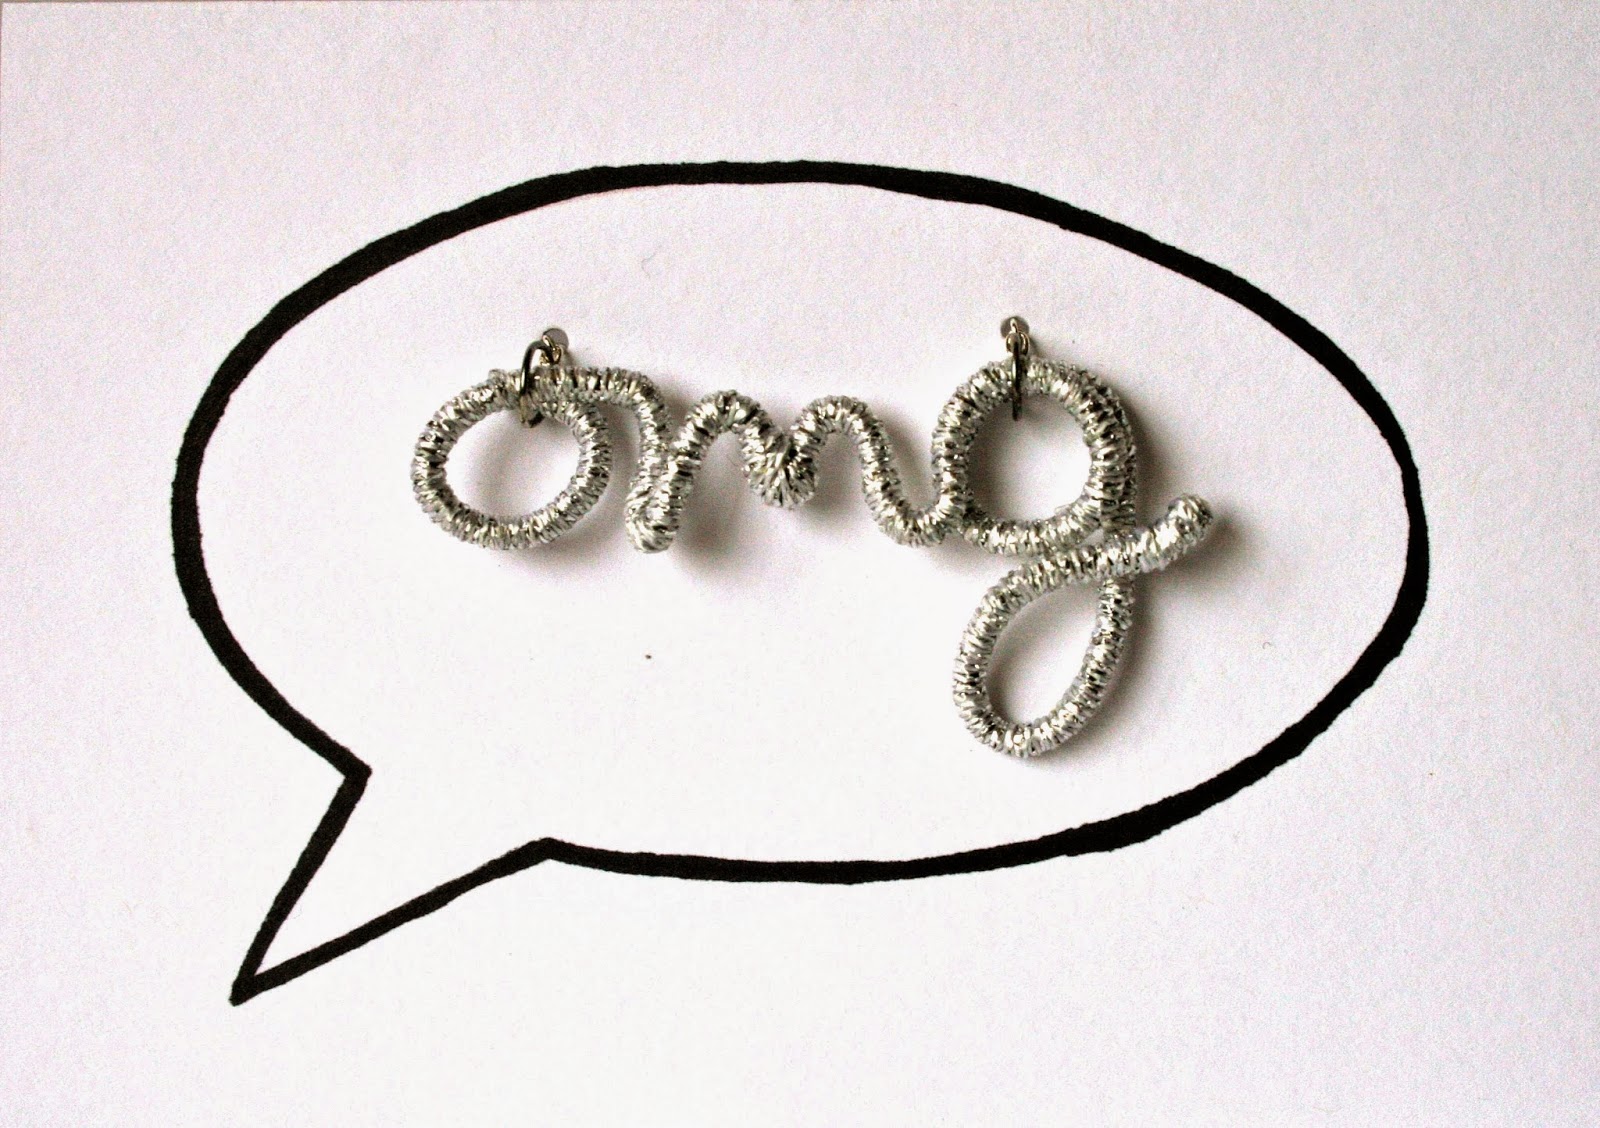
I created a similar thing for my word necklaces with speech bubbles on the cards.

I'm hoping displaying the necklaces on cards will make them stand out more to customers, and encourage people to buy them as gifts.

All the necklaces featured in this post, with the cards, are available in my Etsy shop.

Thursday, 3 July 2014

Black Leather

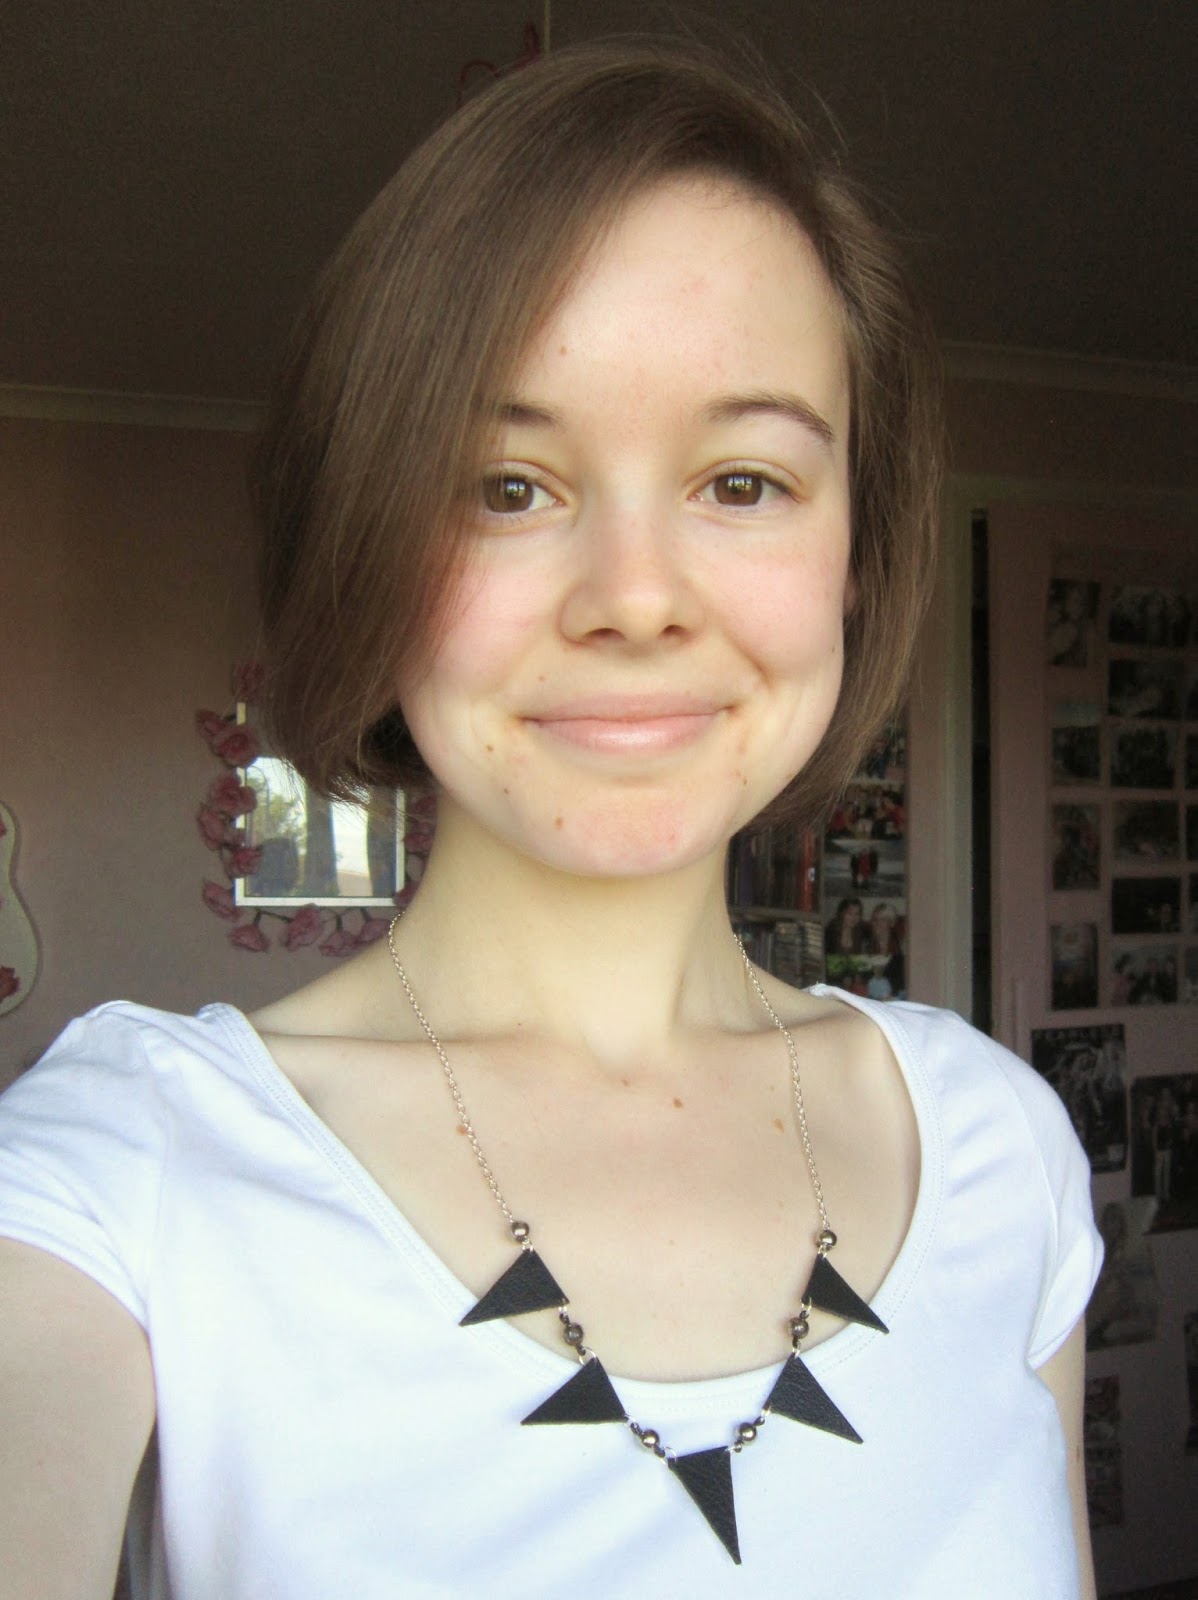
Here's another monochromatic necklace. This one's made from leather instead of dominoes.
It's very similar to the original bunting necklace I made a few years ago, but I felt like having an all black one.

In addition to the black leather triangles I also attached these metal beads. They're quite old and a bit rusty, but I'm not too bothered. They add to the grungy look. The best wire I had to loop through the beads on to the jump rings was this black coated jewellery wire. I would have preferred silver but you work with what you're got. At least the black matches the leather. 

Tuesday, 1 July 2014

Dominoes

At the Scrap Store on Saturday I spotted some random dominoes. I pointed them out to my Mum and said, 'You know what they'd be good for.' She replied, 'Necklaces.'
She knows what's up.

So I got out the tiny drill and made two holes in the corners. I added jump rings and a chain.
Simple as.

For the second one I found some gemstone and was happy to find out that they were the exact same size as the dots on the domino, so I glued them in place for a bit of bling.

Which way round to you prefer the domino? Landscape?

Or portrait?
Bling or no bling?

I picked up a few dominoes so I'm also thinking brooches and keyrings and even a double ring.

Thursday, 5 June 2014

Chain Necklaces


I'm sure you've seen the trend of chunky chain statement necklaces or bracelets with something woven through the chain. Well I wanted to see what I could come up with based on that.

I had no plan going in to making this necklace. I was just trying things out and adding things on. What I ended up doing was wrapping pink embroidery thread round the links of the chain, followed by a purple piece of thread. Then I got more pink thread and at every third link I threaded on a pink plastic gem bead with a smaller purple bead on the end.
Securing the threads at the ends of the chain was a lot of knotting and wrapping round and ultimately UHU glueing.


To complete the necklace I added a thinner gold chain with a clasp at the back.
I really like the mix of gold and bright pink and I'm happy with how it turned out.


Whilst I had all my jewellery bits and bobs out I came up with this statement necklace.


The shiny pink things were a Scrap Store find and the silver circles were taken off a broken necklace.


I'm not quite sure what outfit this necklace would work with, but I like it anyway.

Tuesday, 23 July 2013

Initial Necklace

I don't have a lot of name related jewellery. Given the choice I'd rather have a random word than my name on a necklace. But I'd seen some cute little block letter necklaces around and thought I would try making my own. 

I started by making an L shape out of Sculpey, with a hole through the top, and once it had been baked I sanded the edges to make them super flat. It's a good job my name doesn't start with an S.
Curves.

Then I painted the letter with silver acrylic paint. It took a couple of coats.

I covered the front side in PVA glue and sprinkled on fine silver glitter.
Once it had dried I shook off the excess and gave it a coat of clear nail varnish to seal the glitter.
I've tried varnishing with PVA glue before but it just dulls the shinyness of the glitter.

Then I put some wire through the hole with loops on each end and attached jump rings, then attached a chain.


And now I have a simple little, very shiny, initial necklace.

Thursday, 4 July 2013

Fimo Pendant


When I was mixing the Fimo for these shell hairslides I noticed that all the bright colours mixed in with the black looked pretty cool.
So I took some of the Fimo and rolled it out, making an awesome looking pattern.
I shaped it and put in a hole, and made myself a pendant.

After I baked the Fimo the colours weren't as bright, but a coat of clear varnish fixed that.


I love the swirly, marbled colours.

I also made a long, thin pendant where the colours twist around it.

Oh Fimo, what did I do without you?

Tuesday, 28 May 2013

Bright Beads

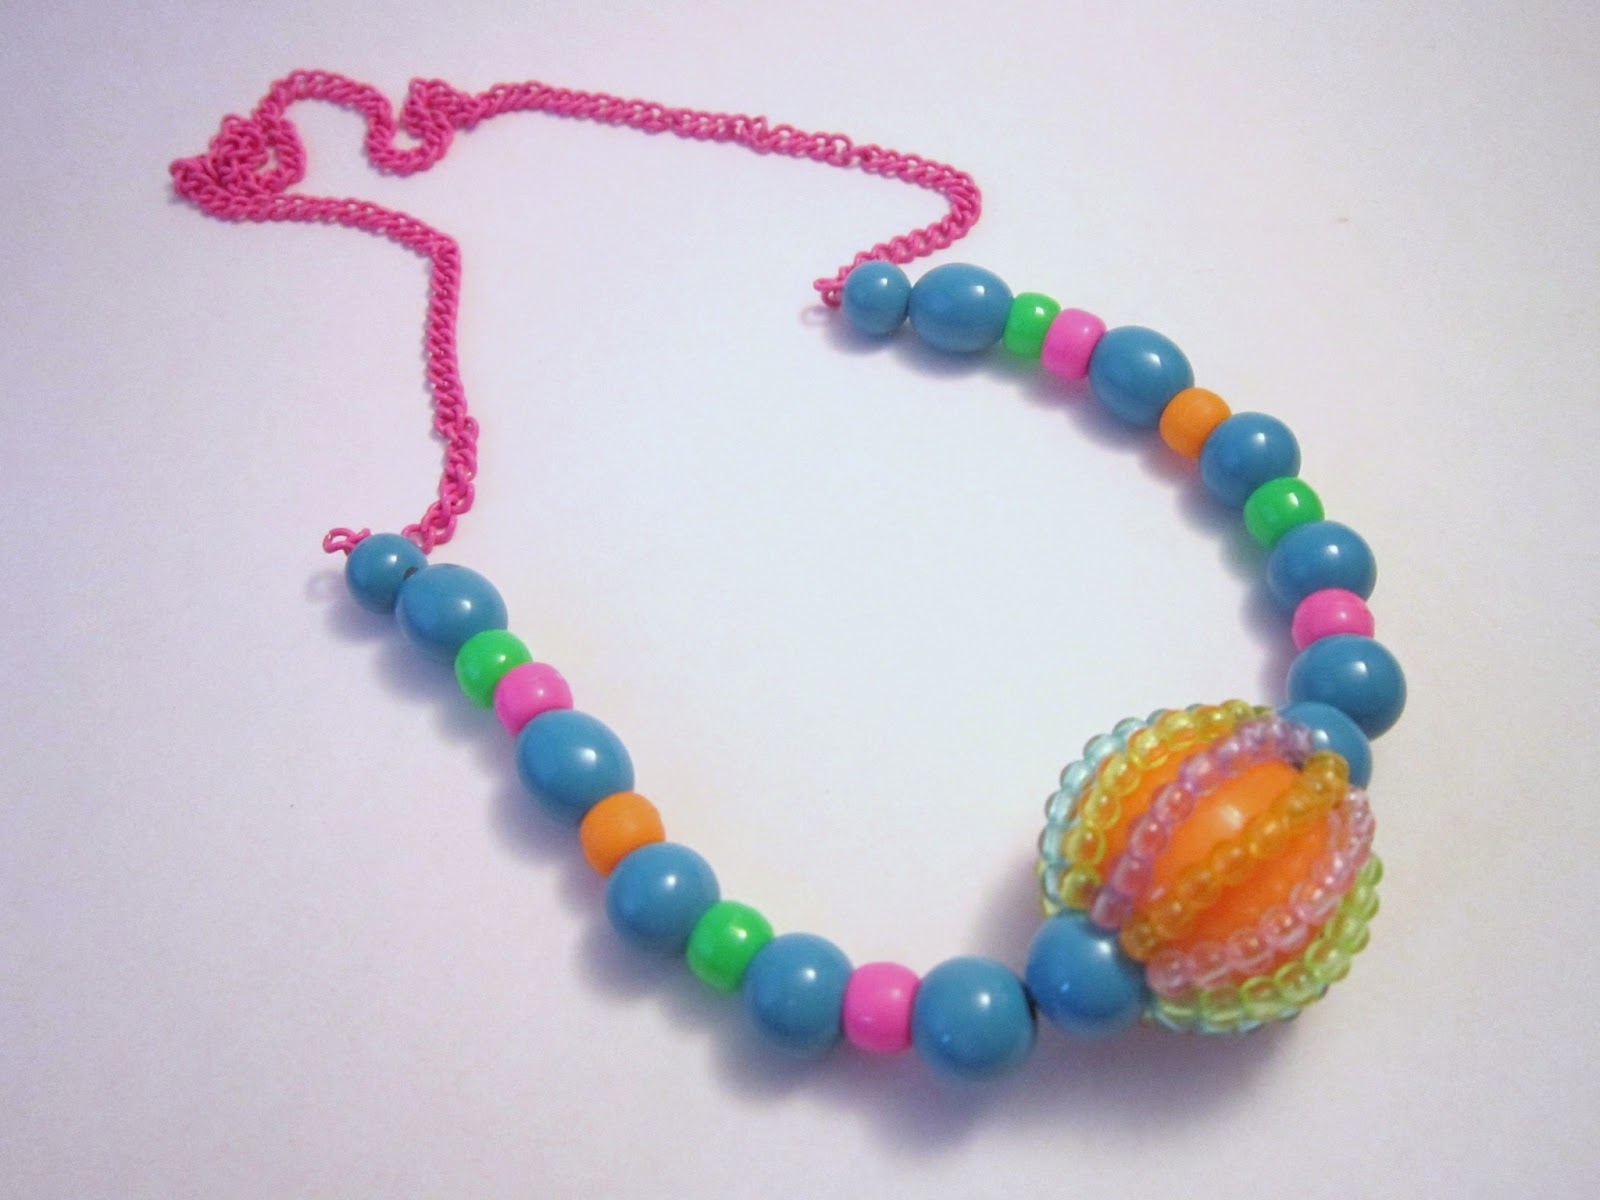
Here's a new necklace I made for fun.
I love the bright colours and the pink chain. I need more pink chain!
The blue beads came from an old necklace that was my Grandmas. Some of the beads were flaking but I picked out the good ones.
I think they look like candy...

The star of it is this bead covered bead.
I got the idea from this blog but ended up doing it slightly differently.
I started by making to rings of beads for either end and then connecting them with strings of each colour bead.

The necklace isn't exactly my style, so I might try to sell it.
But it was fun to try out a new technique.

Thursday, 25 April 2013

Matchstick Pendants

When I was at uni I bought a bag of these wooden matchsticks one weekend thinking they would be useful for my model making, only to find that my friend Natalie had bought me the same thing.
I thought it was about time I did something with my abundance of matchsticks.
Ok, this project only used 18 of them, but it's a start.

I started experimenting with shapes that I could make using the sticks, and UHU'd them together.
I also added some E6000 to make sure they didn't fall apart.

I painted them black, added a jump ring, and hey presto; geometric pendant.

I think they look pretty cool.
I picked black because my outfits tend to be black + another colour, so I figured they pendants would go with most things I wear.
I don't know how long they'll last, because they are just glued together, but they're doing all right for now.
Related Posts Plugin for WordPress, Blogger...