home aboutme myart books shop
Showing posts with label recycling. Show all posts

Wednesday, 30 June 2010

Paper Pot

I used to make these paper pots a lot when I was younger, and now I'm going to show you how to.

Start with a plastic container. I recommend plastic because it's flexibility comes in handy.

Cover the container in Vaseline. It's pretty yuck but has to be done.

Get the glue out.
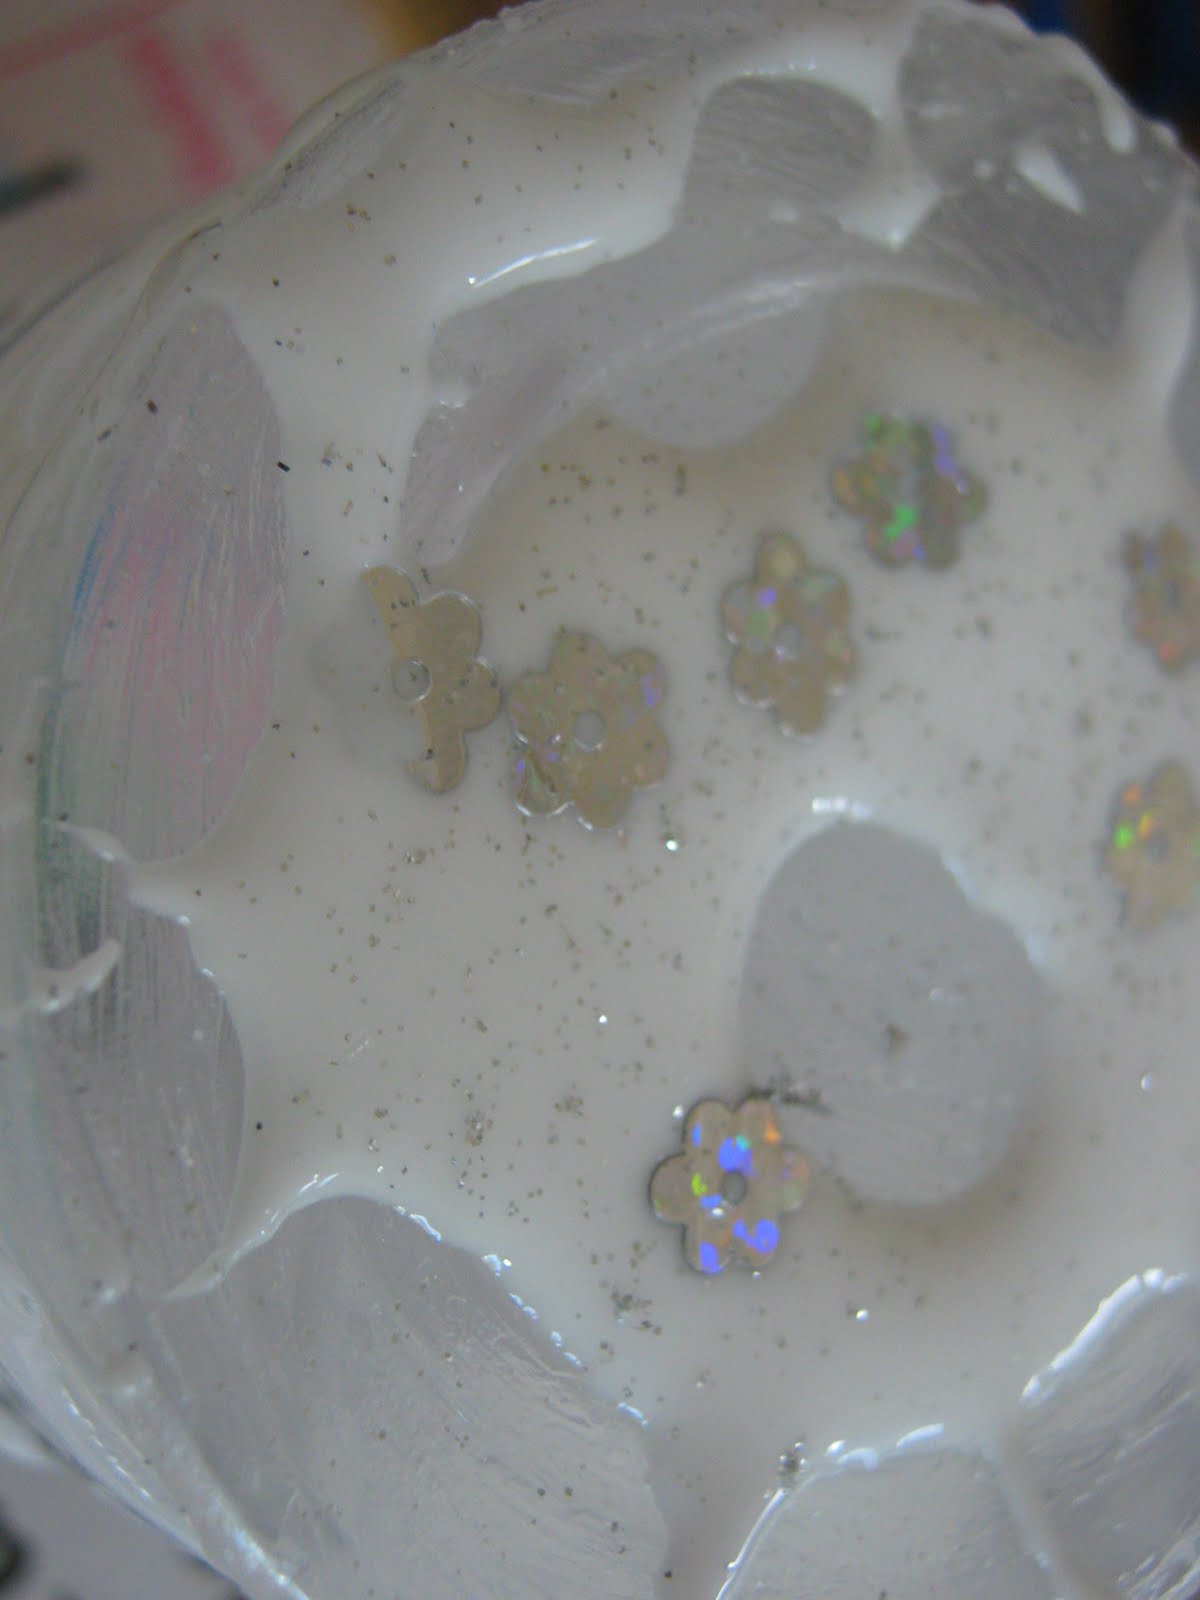
I started by putting a bit of PVA straight onto the container so that I could put sequins and glitter on. This is of course an optional extra.

Glue small pieces on tissue paper on top.

After a few layers of tissue paper I then moved on to ripped up pieces of a magazine. My magazine of choice was a September 2008 issue of Closer. Fun fact.
Keep gluing.

After a sufficient amount of layers I applied the final layer of paper which I wanted to be this silver tissue paper.
You then need to leave the whole thing to dry. The airing cupboard is a perfect place but I decided to make use of the hot weather we had this weekend and let mine in the garden.

Once it's dry you need to remove the plastic container. This can be a little tricky but that's where the flexibility of the plastic comes in. Just keep squeezing and tugging and soon it'll pop right out.

This is what the inside looks like. You're going to want to wipe out the inside with some paper towel because of the Vaseline.

To finish I cut round the top to make it neat and glued on some fun trim as a finishing touch. Also, here's another pot I made with a different sized container.
Super.

Monday, 14 June 2010

From shampoo bottle to flower vase

It was a sad day when I finally ran out of my Hannah Montana shampoo (another example of me being a craft arty kid) which I bought from the 99p shop back in September. They haven't had anymore in stock so I've had to go on without ultra glam shine hair. *sigh*

I really liked the shampoo container and couldn't bring myself to throw it out, so I thought about ways I could reuse it and came up with a flower vase!

I started by cutting off the top so it opens up and thoroughly rinsing it out.

Then I crammed glass nuggets into the lid to weigh it down. This could also be done with sand or something similar.

I also put some glass nuggets inside the container which helps to prevent it from toppling and makes the flowers higher in the vase so the stems don't have to be so long.

I then filled my new vase up with water and added some freshly cut flowers from the garden. A handy feature is that to replace the water you only need to flip open the lid at the bottom to drain away the old water instead of tipping up the whole thing. Genius.


Sidenote: fellow blog readers, if you're interested in musical theatre then go check out my sister's blog. It's a good read and she knows what she's talking about.

Friday, 21 May 2010

Bottle tops

Does anyone else find it annoying how you can recycle bottles but not bottle tops? For some reason, like toilet rolls, we don't throw out our bottle tops in my student house. So this it what I've done with them:

I used them to frame miniature portraits in my latest art project.
(Yes Lizi, that's you..no, not the one with the beard...)
Amanda at Crafts by Amanda made them into cute little ladybirds

And I saw milk bottle top being used at the Recycled: Design for Life exhibition at the V&A. 14 year old Lucy, from Dorothy Stringer School in Brighton, used milk bottle tops and scraps of gingham fabric to create an outfit inspired by the skinhead subculture.

Monday, 3 May 2010

Recycled at the V&A

Last week I went to the V&A museum in London and whilst I do appreciate all the ancient artwork, I was quite interested in the temporary Design for Life exhibition.
The project sees five regional museums and galleries working with young people to inspire them and give them new design skills. This years theme was recycling, something most of us here in the craft world are fans of, and here are my favourite pieces;

This recycled snail table light was made by 15 year old Annette from Parrs Wood High School and it uses a low energy bulb and recycled materials to create a child's nightlight. I love it.

I really love this 'Apple Mac' by Elsha, 13, from Blatchington Mill School. It's made completely from plastic apple bags from supermarkets machine sewed together. She says she was inspired by the hippy look at festivals and I could see this look being rocked at Glastonbury. Fo sho. 

Monday, 12 April 2010

Garden fence greeting card

This project came about when I wanted to find a use for the packets of little bits of wood that come with canvases. Does anyone know what they're actually for? I think it's got something to do with the corners. 

Since I don't use them for their intended purpose, whatever that may be, I've got a lot of these little packets lying around. Then one day I realised they looked like planks of wood on a fence, and thus; the garden fence greetings card. 

Start by gluing the wood pieces onto a plain card. I used blue card so that it looks like the sky.

Conveniently, there are the right number of wood pieces in one packet to make one card.

Put a few heavy books on the card while the glue is drying to keep the wood stuck down.

Gather lots of different flower shapes. I used flower sequins, beads, paper flowers and bits taken off Christmas decorations.

Stick the flowers onto the wood.

Add green paint with a cocktail stick to make the stems of the flowers and added foliage.

Add it's as easy as that. I think they work quite well as Fathers Day cards, cos Dads tend to like garden fences, right? But they could also be birthday cards, or just general best wishes.

This project has been featured on All Free Holiday Crafts. Check it out!

Monday, 22 March 2010

Fabric scrap ring

Like a lot of people I have loads of scraps of fabric that aren't big enough to use in my usual crafts but I've still kept them. Using materials I had lying around I came up with this cute fabric ring which is a way of using some of the fabric scraps. It can also double up as a pin cushion. 

I started by drawing a circle on a scrap of fabric. The circle is approximately 6cm in diameter. 

I cut the circle out and folded the edge over slightly and sewed running stitch all the way around. When you pull the two ends of thread the fabric gathers like a drawstring bag.

Then I filled the fabric pouch with scraps of felt. You could also use polyester stuffing, but all I had was felt.

I then put a blob of UHU glue on the pad of a ring. This project would probably work better with a ring that has a bigger pad, but all I had was the small one and I didn't want to buy anything for this. It's all about using up what I already have. 

I stuck the ring onto fabric pouch, pulling the edges tight around the ring pad.

You could stop here, but I wanted to add a little more decoration.

I took a length of ribbon and did running stitch all the way along on one side.

When you pull the thread it gathers the ribbon into a ruffle which I put around the ring.

I then put a small circle of felt on the underside of the ring -both glued and sewn- to tidy it up.

This is a great way of using up little bits of craft materials that aren't good for much else. You could also embellish the ring with different ribbons, beads and sequins.

Monday, 15 February 2010

Glove love

This is another project from make it! by Jane Bull; a fun glove friend! It's really easy to make, you just turn the glove inside out, sew in the thumb, and, because I was using fingerless gloves, I had to sew up the fingers too. Then add facial features like buttons for eyes and a strip of felt for the mouth and finally stuff it. You can use regular polyester stuffing but the book encourages you to recycle and fill it with old socks, so that's what I did.

Now I just need to round up some more abandoned, discarded gloves so I can make some more.

Friday, 29 January 2010

Plastic bag clutch

I learnt how to fuse plastic bags here. It's a really good way of using up some of those plastic bags that we all have lying around (although there should be slightly less if y'all are using bags for life). To make this clutch bag I started with a large sheet of plastic which I created by fusing about 7 layers of plastic bag. I wanted to use a particular plastic bag with this pink flower print as the outside of my bag so that went on top with another clear plastic bag on top of that to make sure the print didn't come over. When I ironed over it it went crinkly, which I wasn't expecting, but it provides an additional texture to the bag.
The bag is a simple design. The sides were folded in and hand sewn together, and I put a kitchen roll tube with a slit cut out in the bottom so the bag would maintain it's round shape.
To close the bag I attached to large poppers to prevent it from flying open.
I decorated the outside by sewing a few sequins and beads around the flowers on the print.

I also added a length of ribbon under the fold of the bag so it can have a strap if I want it to, but it is removable so it can still be a clutch bag.

Wednesday, 27 January 2010

Button and beads on rings, oh my!

This past week has been quite relaxed here in uni-world so I've had some spare time to get my craft on (and an abundance of Without a Trace episodes to get through at the same time). So I decided to make a heap of colourful rings using buttons and beads and sequins and anything else I have with me here. I used ring bases with 8 loops and attached the various objects with small, half inch long pins, making a loop on the end with my pliers. Most of the buttons and beads had holes that were bigger than the pinhead so I added seed beads and sequins and stop them falling off.


With all of my materials laid out according to colour I was reminded of the work of Tony Cragg, an English specialising in sculpture. For his colour works he collects discarded plastic objects and arranges them according to colour giving them a new form and transforming bits of rubbish into works of art.

This piece is:
Policeman
1981
Plastic
400x119


One day I'll get round to making these. They're plastic bottle tops filled with plastic bits and bobs which can be made into badges or magnets. The idea is from make it! by Jane Bull which is a great book full of crafty ways to recycle for kids, but since I'm The Craft-Arty Kid, that includes me too!
Related Posts Plugin for WordPress, Blogger...