home aboutme myart books shop
Showing posts with label flowers. Show all posts

Thursday, 5 September 2019

Wedding Flowers

Hi guys, I got married!
I've been a bit quiet here on the blog for the last few months as I've been busy preparing things for the wedding. I've got lots of diys to share with you and I'm going to kick things off with...the flowers!

I've never really been that bothered about flowers so I knew it was an aspect of the wedding that I didn't want to spend too much money on. I can understand why florists charge what they do, but I thought this was something I could do myself as I wasn't too concerned about the outcome.


The day before the wedding I headed to Tesco and bought just under £50 of flowers, which is everything you see here. I'd practiced making my bouquet back in May, after searching blogs and youtube for how to do it, so I knew which sort of flowers I was after. 


I laid all the flowers out on a long table and got to work. For a bouquet, the key is to make the central bundle of flowers, tape it together, and keep adding flowers around it, taping as you go.


To make it a bit more special I used some small gold balls on wire, which were originally from some Christmas crackers, and pushed them into the centre of some of the flowers.
I kept the stems long so I could keep the bouquet in a vase of water overnight. In the morning I tied ribbons around it and trimmed the stems right before I left.

I also made the button holes for the groom and groomsmen which was very simple. One small flower with a bunch of gypsophila, taped together with twine wrapped around.


We also wanted a small pot of flowers for each table at the reception which would hold the table numbers. 
For the numbers, I used my Cricut to cut two of each number out of card which I glued together around a kebab skewer. I then sprayed these gold to match our colour scheme.


The flowers for the tables were put in jam jars inside various gold pots. Half of these we already had in our house and the other half we bought from IKEA.
We gave the jars of flowers to our guests at the end of the night, and kept one for ourselves and, over a week later, it's still going strong.


£50 of flowers was more than enough and I was able to make an addition pot to put on the registrar's table during the ceremony, as well as make up a couple of vases of the spare flowers for my Mum to have. She had let me take over her house with my floristry after all. 

Thursday, 14 March 2019

Felt Flowers

If you follow me on Instagram you will have seen that I've been making a lot of felt flowers recently.

Don't judge the state of my mat!
Just before Christmas I treated myself to Cricut Maker and I've been exploring some of the patterns that come with it.
These flowers came from the felt flower wreath project.


To start off with I made a couple of hairbands with one large flower on.


I didn't follow the project exactly. This flower is made up of pieces from two different flowers, and I did my own thing for the centres.

Then I made a bunch more smaller flowers and used them to embellish the unicorn hairbands I made last year.

Basically, don't stand still for too long in my house or I might stick a felt flower to you!

Sunday, 3 July 2016

This Week I...

As I mentioned, this week was our end of year art exhibition at work, showing the GCSE and A level work of our art students. Tuesday evening was the private view during which the art teachers presented me with a bunch of flowers to thank me for my hard work in putting the exhibition. Just doing my job guys.
As I don't own a vase I had to improvise and put the flowers in a tupperware box.


And in other flat improvement news I put together this mail organiser so I can stop cluttering up my table. It's just three cardboard folders stapled together and hung to the wall. I labels the pockets 'my mail', 'junk', and 'not my mail' as I'm still getting post from previous tenants of the flat. I've got to say, I'm pretty chuffed with this quick but very useful addition.

Wednesday, 10 September 2014

Watercolour Rose

I saw an image on Pinterest where someone had embossed the outline of a flower and filled in the spaces with water colour paints. Since I don't have a fancy embossing printer I tried to achieve the same effect with glue.

I started by taping a piece of paper over a simple image of a flower

I went over the lines with glue. The glue I used was a little thicker than PVA and had a very useful thin nozzle.

Then I waited for it to dry!

Once the glue was dry I filled in the spaces with pink water colour paint. The dried glue acted as a barrier so I could keep the clean white lines.

This was a very successful technique and I'll be thinking about which other images it would work for.


Tuesday, 11 February 2014

Flower Box

I love the papier mache box section in Hobbycraft. I bought this box that looks like a book years ago and have only just got round to doing something with it.

I got inspiration after seeing this jewellery box on Almost Makes Perfect. I liked the simple flower image on a clean, white background.


I just googled 'pink flower' to find an image to paint from. I actually surprised myself with how well I painted this, as I used acrylic paint and I'm more confident painting detail with oils.

I finished it off by lining the inside of the box with this bright pink velvet.


Thursday, 13 June 2013

Painting: White Rose

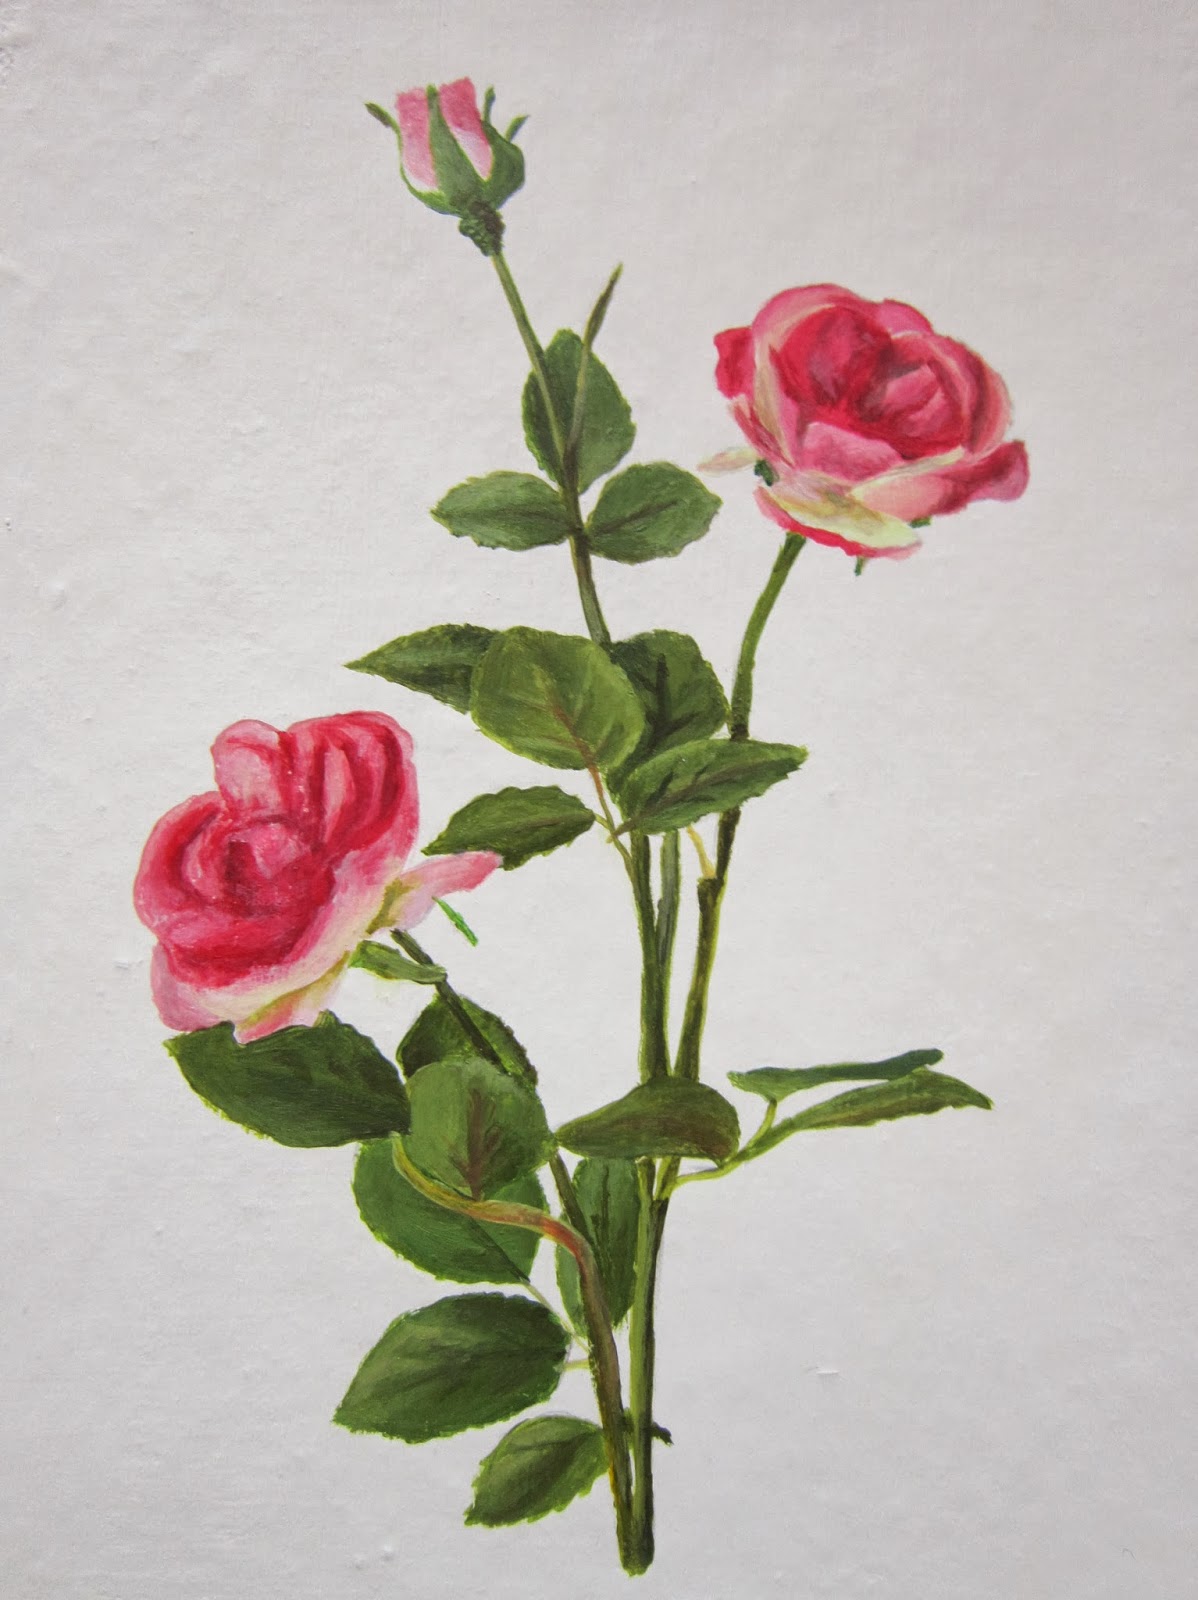
To maintain my painting skills I produced this little paintings the other day.
It's from a photo that I've had on my computer for 3 years.
I think it was of a rose that I took away from a Letchworth Arts Centre event.

I like these little canvases - 7x11" - because the paintings don't take to long to complete. Depending on the level of detail of course.

I've got a few other paintings this size for sale on my Etsy shop. Check them out.

Monday, 11 July 2011

Guitar make-over

Who likes my new guitar?
I do, I do!

A few months ago, around Easter in fact, I came home from hanging out with my friends carrying this lot. My friend Robyn and her brother were throwing them out so I offered to give them a better home.
And give them a new look.
Starting with the whole guitar.

The first things to do was sand down the guitar so that I could paint it.
After a whole afternoon of using sandpaper and getting a very achey arm with little progress I was informed that my Grandad probably had a power tool for the job.
He did, and this is me using it. 

Sanding done, it was on to the painting.
I started with a coat of primer which was an off white colour as that was what was in the garage.
Then I applied a few coats of white emulsion, again whatever I found in the garage.

Next I used acrylic paint to add some decoration to my guitar in the form of lovely pink flowers.
Then I varnished the whole thing twice using clear varnish that I found in, you guessed it, the garage.

The only thing I spent money on for this project was a set of nylon strings so that the guitar would be playable. I strung the guitar with the help of my Dad and some guy on youtube.

And now it's ready to play!

Wednesday, 15 September 2010

My Model Room: #12 Mirror and more

Here's my mirror and the decorations around it.

There's my handmade montage of people with guitars. I took a photo of the original and reduced the size and the frame is made of matchsticks. The guitar in the top right corner is covered in buttons!

The mirror is jut shiny silver card. The circle stickers are to represent the sports day stickers I've had stuck there for ever. At the bottom I used nail transfers to represent all the different post-it notes I put there.

I bought these flowers from Hobbycraft and have them in a couple of places in my room. To make the miniature versions I cut tiny petals from one of the original petals and then glued a small piece of wire to each of them individually. 

I also have them on my wardrobe in these little half pots. I made the original pots with papier mache around a large yogurt pot, but for the miniatures I just folded a small bit of sugar paper.

Wednesday, 14 April 2010

Daisy, daisy


Feeling a little flowery, I made this necklace and matching ring. I must have also been feeling a little insane as I sewed each of the yellow seed beads individually onto a circle of felt. It was worth it though.


The necklace is now available to buy at the Letchworth Arts Centre so if you're local, go and check it out, along with all the other crafts on sale and artwork on display.
Related Posts Plugin for WordPress, Blogger...