home aboutme myart books shop
Showing posts with label water colour. Show all posts

Tuesday, 8 January 2019

Fish Painting


Last summer, during our holiday to Austria, we visited Schönbrunn Palace. The palace grounds are so large they even house a zoo, which is apparently the oldest zoo in the world!
(They also have a bakery which offers apple strudel demonstrations!)
We spent a long time in the zoo, starting with the aquarium. I loved all the different colours and shapes of the fish and knew I wanted to make some art based on what I'd seen once I got home. 


I created this painting in about an hour. I wasn't too concerned with getting all the details exactly right, I just wanted to play around with different materials and show all the colours.

For the background I used watercolours to make it look, well, watery! 

I painted the fish using gouache paint as I find the colours are more vibrant than watercolours and it's easier to control. I added some gold acrylic paint which shimmers in the light like the real fishes scales.
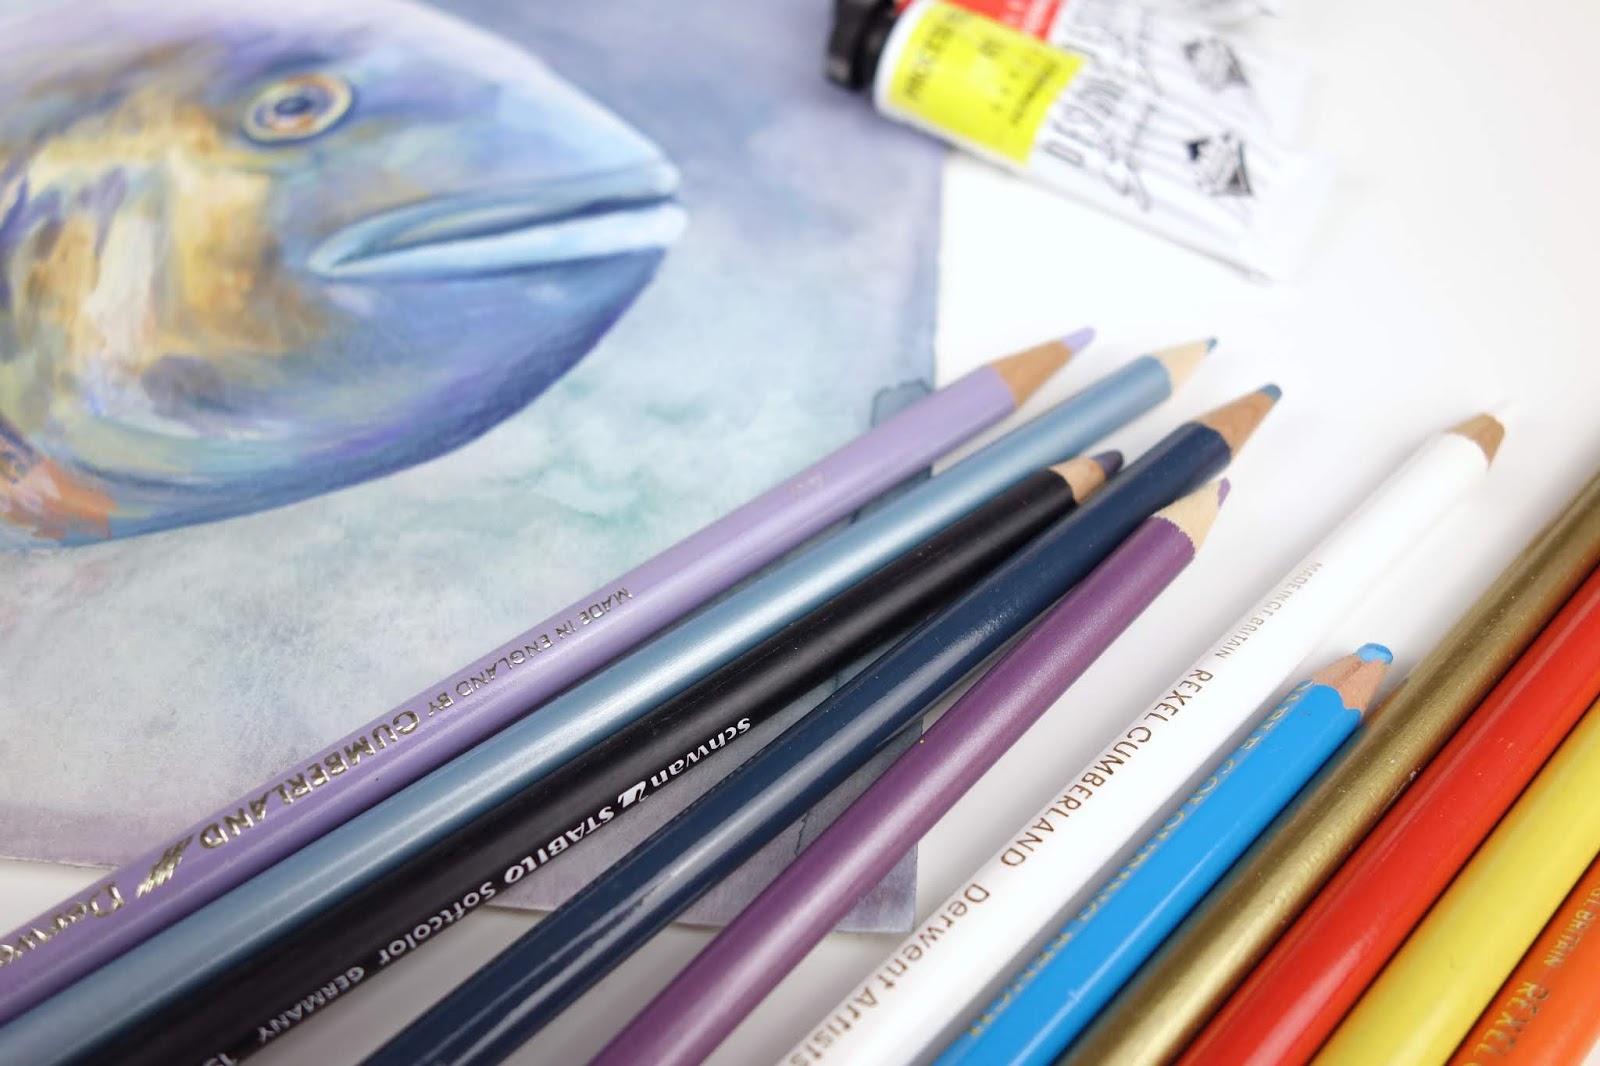
I added details and brought out the shadows and highlights using colour pencils.


I love how this turned out and I'm really happy with the slightly messier style and mix of textures.


Wednesday, 16 May 2018

Quick Painting: Stonehaven

I made this painting as a little break from sewing all the dogs
I keep a folder of my photos that I think might make good paintings so when I decided I wanted to do a little painting I just picked an image out from there.

The picture is of Dunnottar Castle in Stonehaven, near Aberdeen. I visted there two years ago with my cousin and friend as my cousin went to university in Aberdeen. The trip was something of a castle tour as we hit up three in two days during our visit.

To create the painting I roughly sketched out the image on to water colour paper before painting it. I then went over the painting with colour pencil to add more details.
See the video below for the whole process.


Wednesday, 28 February 2018

Water Colour & Fineliner

I've been noticing some cool paintings of houses using water colour and pen over the top and wanted to try it for myself.


I started with a house that I know - the house I stayed in in Norwich during my 3 years at university. I found the house on Google street view and drew it out on to water colour paper. Then I painted it with water colour paints and went over the lines with a fineliner. The good thing about the pen I used is that it's waterproof which meant I could go back and add some more paint if I needed to with the water making the pen ink smudge.

Here's a video of how I did it:


I really liked how my first attempt turned out so I searched for another house to paint. I found this house randomly on Google street view somewhere in California. It's crazy to me that houses like this exist on a regular street.


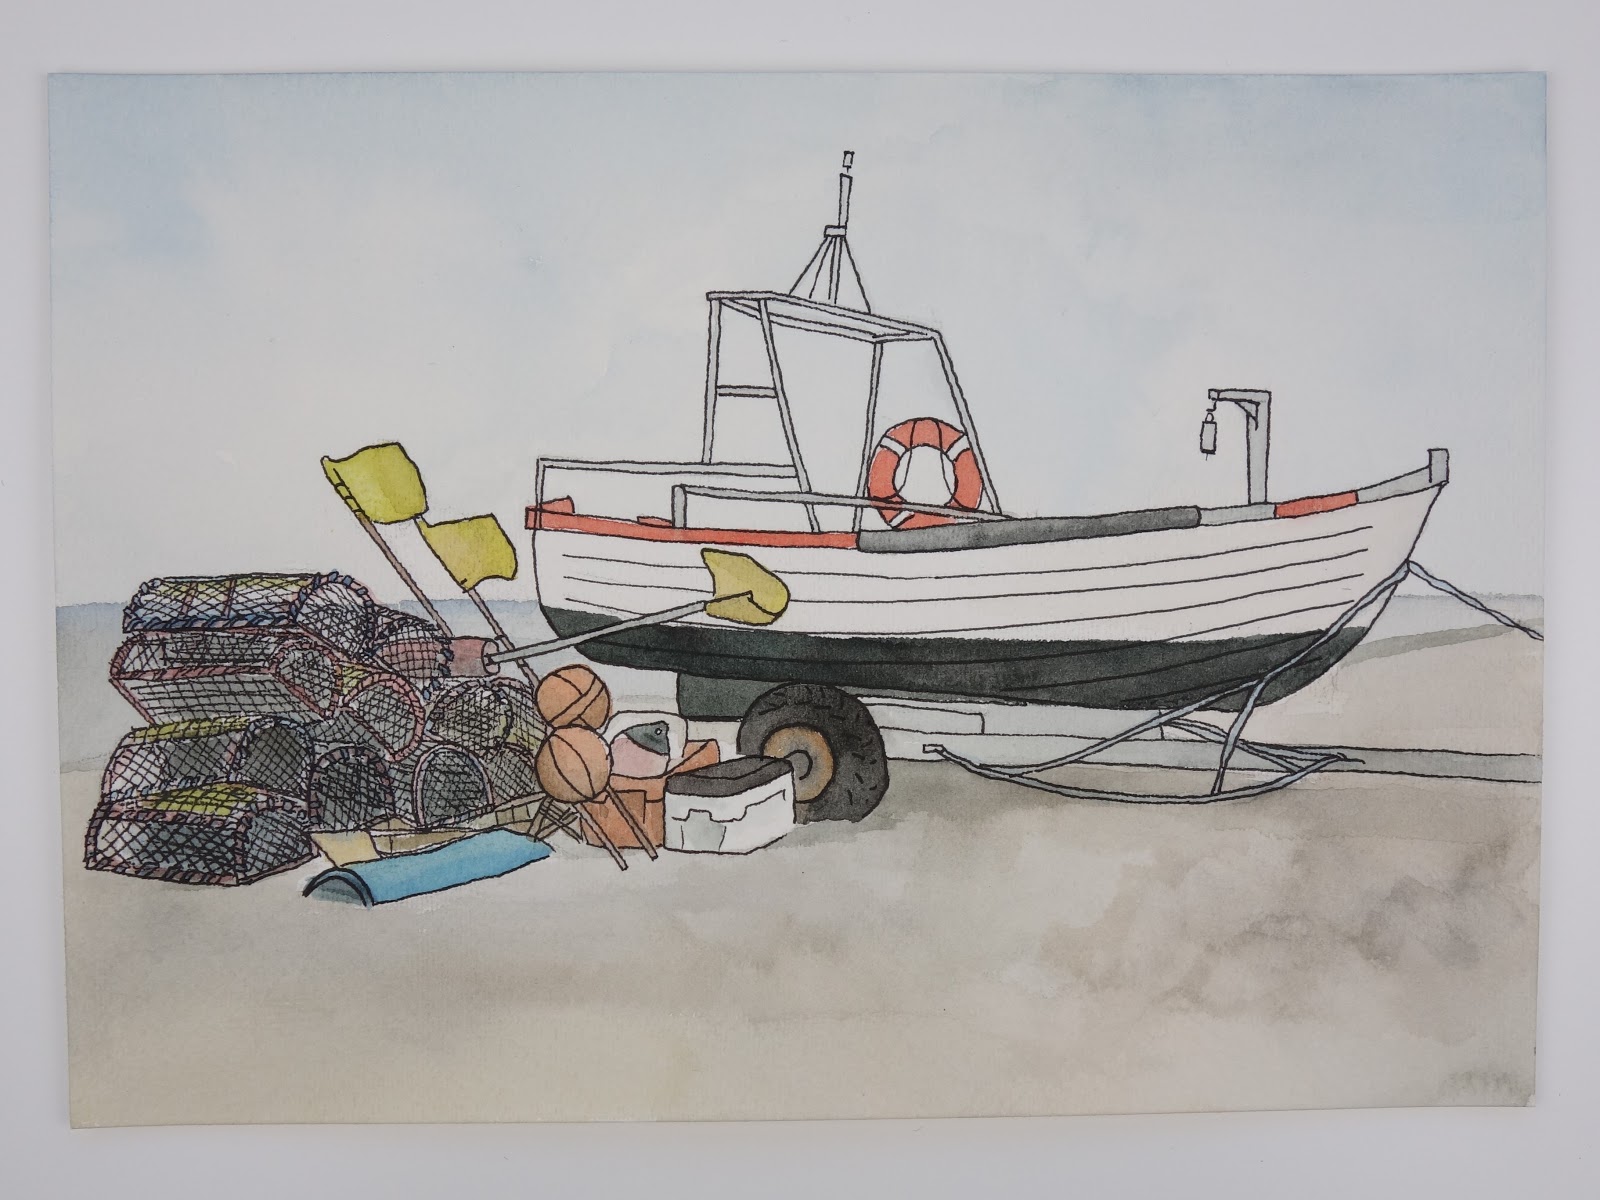
I then did another painting using the same technique, this time working from a photo I'd taken at a beach. Using the fineliner pen worked really well to capture all the little details of the boat and the fishing cages.

Wednesday, 22 February 2017

Adventures in Modern Calligraphy #2

After being pretty pleased with my attempts at modern calligraphy using a felt tip pen I decided to try using a nib pen and ink.

From what I read on the internet I thought using this kind of pen would be difficult for me as a left-hander, but I was suprised to find that wasn't the case. Perhaps because I learnt a long time ago how to hold my pen so I don't smudge the ink. (I was taught by the guy in the Left Handed Shop in London which I'm not even sure exists anymore. It's where I bought my favourite left-handed scissors and a left-handed ruler).

Like my first attempts, I practised by copying calligraphy alphabets. I drew out guidelines in pencil to help me with the sizing of the letters. I love how these joined up ones looks.

To apply what I'd learnt I wrote a simple phrase and then painted a watercolour wreath around it because the internet is all about these at the moment, right? I can see why though; it looks so cool!

Wednesday, 3 February 2016

Drawing Practice

Recently at work I've had the job of going through a whole stack of really old catalogues of stock images for anything that the students might be able to use. Most of them are just full of really random images that make me wonder why anyone would photograph that, like the above pictures that I cut out because they made me laugh so much.

Having seen all the drawing the students do I've decided I need get back into that so I took one of the catalogues home to use for drawing practice.

I've been experimenting with pencil and biro drawings and using watercolours as a background wash and for details.


What's good about drawing random models is that I don't worry about the drawing looking exactly like the person because noone's going to know what they're supposed to look like.


Tuesday, 1 September 2015

Hedgehog Painting

My Mum's school have given their classes animal names and she asked if I'd do a water colour painting for her class, like the ones I did for my previous school.
I used the same technique for this hedgehog as I did the last one, using a candle to create wax resist spikes.
This painting will go on display in my Mum's classroom surrounded by the children's own versions.

Tuesday, 16 June 2015

Water Colour Beach Huts

At school this term our topic is the seaside and in art the children will be creating water colour paintings of beach huts inspired by the artist Lynette Amelie.
The class teacher asked if I would produce the example painting and this is what I quickly came up with. I'm looking forward to seeing the paintings the children come up with.


Tuesday, 24 March 2015

Watercolour Animal Paintings

The headteacher at the school I work at is leaving soon so the other teachers asked me if I would produce some pictures to go on the front of cards for each class to give to the head.


Each class has an animal name so the five paintings I produced are of each animal.

I decided to try a different technique for these paintings. I used water colour paints with colour pencil over the top. 

For the hedgehog I added another step of making marks with a candle first to get the white highlights on the spines.


I really love how the paintings turned out, and so do the rest of the staff. In fact they were a bit amazed as they were only expecting cartoon drawings. 


I think my favourite is the rabbit, but I might be a bit biased because I work in Rabbit class.

Saturday, 13 September 2014

People Patterns


This fun painting was the example I put together for this week's kids art club at the Letchworth Arts Centre. It's sort of the like the 'take your pencil for a walk' activity from one of the summer sessions, but with people shapes. I used water colour paints as a change from felt tip pens.
  I'd been thinking about this idea during the week and then saw these wooden people templates at school. They were perfect and would save me cutting out templates from scratch, and thankfully the class teacher let me borrow them for the weekend. She also wants me to do a similar activity with the class next week.

Wednesday, 10 September 2014

Watercolour Rose

I saw an image on Pinterest where someone had embossed the outline of a flower and filled in the spaces with water colour paints. Since I don't have a fancy embossing printer I tried to achieve the same effect with glue.

I started by taping a piece of paper over a simple image of a flower

I went over the lines with glue. The glue I used was a little thicker than PVA and had a very useful thin nozzle.

Then I waited for it to dry!

Once the glue was dry I filled in the spaces with pink water colour paint. The dried glue acted as a barrier so I could keep the clean white lines.

This was a very successful technique and I'll be thinking about which other images it would work for.


Thursday, 1 May 2014

Wax Resist Geometric Design

On my latest trip to the Scrap Store there was a box of thin white candles. I picked up a handful as I thought they'd be perfect for wax resist.

I'm still loving the tonal geometric trend so I decided to do something with that.
I started by drawing lines all over a piece of watercolour paper to make lots of triangles.
Woodstock ruler!

I had to keep tilting the paper to catch the light so I could see the lines I'd made.

Using my water colour paints I filled in the triangles. I painted right up to the wax line which stopped me from going any further.

I really like the delicate look of water colour paints, and I don't mind the jagged edges of the triangles from the wax line.

Inspired by Kaelah's geometric wall I added glitter to some of the triangles simply by applying PVA glue with a paint brush and sprinkling on a thick covering of fine glitter.

And then I made two more!
These are actually postcards - they have the lines printed on the back - so I might try to sell them at my next craft fair.

Related Posts Plugin for WordPress, Blogger...