home aboutme myart books shop
Showing posts with label photo. Show all posts

Tuesday, 10 November 2015

Scrapbooking #9

For this scrapbook page I went for a completely different style. I was thinking of collage-y, art journal images with a lot of mixed media.
The photo was a bit of a dud as I think someone's finger (probably mine) was over the flash, so it's quite dark with an orangey tinge. As the photo wasn't amazing I felt I could be a bit experimental.

I started with plastic backed canvas for the base which I painted using black acrylic and a sample pot of orange wall paint to match the colour in the photo. Then I glued ripped bits of foil and newspaper to the canvas, covering the photo in places.

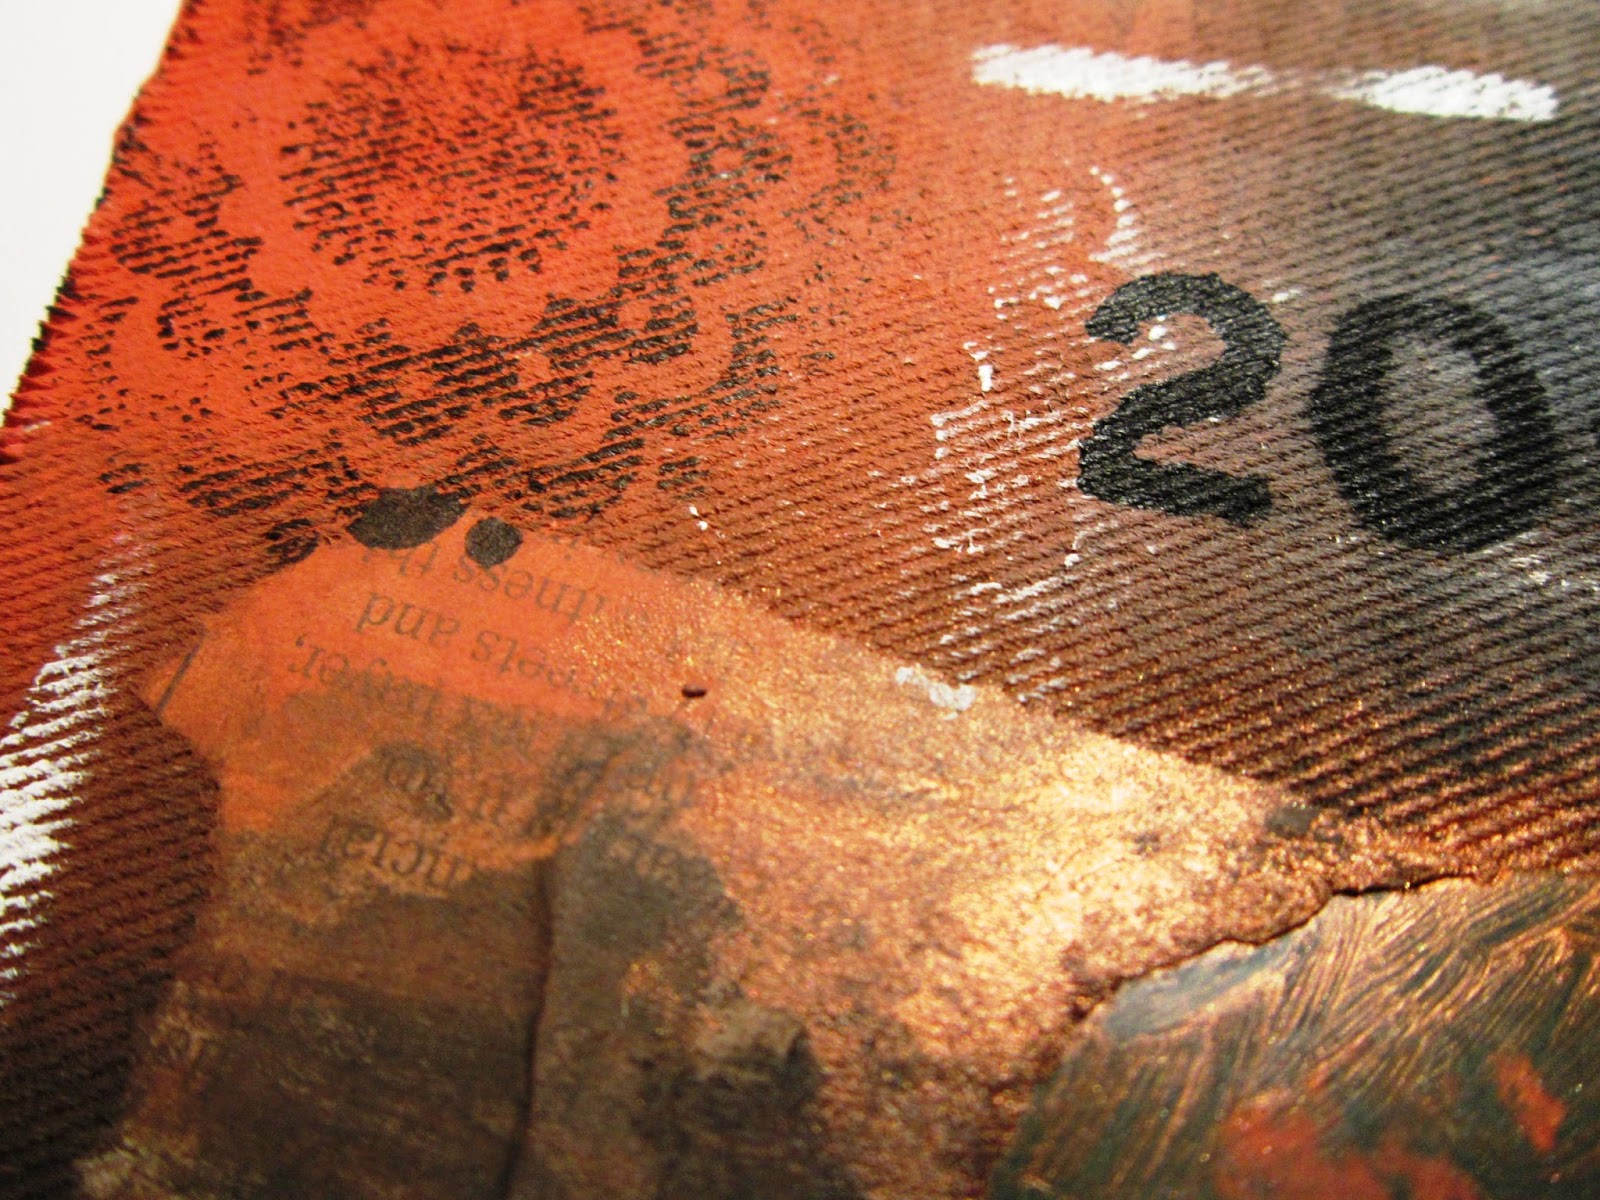
I painted over the paper and canvas, using a fairly dry brush to pick up the texture. I used copper acrylic paint to add to the shine the foil provided. I added some pattern using a rubber stamp and a black ink pad, and later just white paint.
I used a plastic stencil to paint on the names of my friends in the photo and the date it was taken.

The glow around the girls was created by applying bleach to the photo with a paint brush, which is a technique I discovered at work. The result is a bit unpredictable but I think it looks really cool.

And as usual here's a shot of everything I used.

Thursday, 30 October 2014

Memento Notebook

A while ago I was looking through my folder of stuff I collected during my holiday in Nashville a couple of years ago, and thought there must be a way to display this stuff instead of keeping it hidden away.

I laid out all the stuff to take a photo. There's things like the guitar magnet I bought, my Opry backstage tour pass, ticket to the Adventure Science Centre, a serviette from the Country Music Hall of Fame, a bus route map. I also added a couple of photos from the trip.

I cropped the photo and adjusted the colours and came up with this.
Cool, but now what?
I put the photo on Facebook to show my sister, who I took the trip with, and she made it her cover photo.

(I forgot to take a photo before I gave it to my sister so had to get her to send me one)
When I was thinking what to get my sister for her birthday a few weeks ago I went on to her Facebook page to get inspiration, When I saw the Nashville photo I had the idea to get it printed as a notebook cover.

I used Photobox to get it printed and the photo came out great, and my sister loved the gift.

This was a great way to display mementos from a trip, especially ones that you can't really stick in a scrapbook. I think the image would also look good as a poster or canvas print displayed on the wall.

Thursday, 24 July 2014

Bright Paper Pieces

More scanned paper fun? Ok then!

This one was definitely inspired by Katie's family photo collage. I like the black and white photo mixed with the simple, cartoony background. Kinda like Angela Anaconda! Some Saturday morning memories right there.
Like my previous experiments with this fun technique you have to compose the image on the scanner backwards, so you put the background on last, and then hope everything underneath has stayed in place.


For this one I wanted to brighten up the sky. I fanned out five pieces of coloured paper and put them on top of the black and white image. In Photoshop I flattened the colours of the background to give a contrast to all that texture in the rocks.


For this one I used a colour photo instead of black and white and fanned out coloured paper like in the previous piece. Then in Photoshop I reflected the background and added a ripple effect so it looks like I'm walking on water.

Thursday, 17 July 2014

Image Transfer Painting

 The other day my friend sent me a photo of a friend of hers and asked me what sort of painting she could get for a small budget. I decided I could do an image transfer with painted details.

I started wit ha small canvas board and a printed copy of the photo in reverse. I forgot about the reverse part the first time I printed it, but that then became my reference photo.

Then I coated the canvas in an acrylic gel medium, which works the same as image maker.
This is the same technique I used with this picture.

Once the medium had dried I wetted the paper to rub it off, leaving the image behind. Unfortunately this didn't work as well as it has done in the past as some of the image started to come off as well. This just meant that I'd be doing more painting than I'd originally planned.

I think I ended up painting over everything except the ears and teeth.
I had to use acrylic paint for this as I didn't know how oil paint would react with the remaining paper.It was a bit of a challenge as I'm not used to using it for painting in a realistic style but I think it turned out all right. 
Related Posts Plugin for WordPress, Blogger...