home aboutme myart books shop
Showing posts with label ornament. Show all posts

Wednesday, 7 November 2018

Mickey Mouse Ornaments 3 Ways

Today I'm sharing 3 ways to make a Mickey, or Minnie, Mouse Christmas ornament.

When looking through my stash of various baubles I found I had a few black ones. What do you do with black baubles? Make Micky Mouse of course! I had the perfect sized ones for the project.

I took two small baubles and cut the tops off, which I was able to do with a craft knife.

Then I used my hot glue gun to stick the small baubles to a larger one in the classic Micky ear formation.

I decided to make this into a Minnie Mouse ornament by adding a little hand made bow.

For the next ornament I asked my Mum to crochet around a bauble with red wool.

Then I cut out two pairs of red felt circles for the ears. I added red sequins and then sewed the circles together.

 I sewed the felt circles to the bauble, and then added red sequins to the rest of the bauble. You could just glue these but I decided to sew them on.

For this simplified Mickey Mouse ornament I asked my Mum to crochet round another bauble; half red and half black.

I made the felt circle ears out of black this time, and sewed them on. Then I took two white buttons and sewed them to the red section of the bauble.

This one could easily be made into a Minnie ornament by sewing white sequins, or buttons, all over the red section and adding a bow to the top.

Tuesday, 26 November 2013

Movie Quote Ornaments

For fun I decided to make these Christmas movie quote baubles. Or Christmas moments in a movie, in the case of Mean Girls.

Firstly, writing with paint and a paint brush is hard y'all! Especially when it's on a rounded surface.
But I did my best.
I'm not even sure this quote is in Home Alone, it might just be, "keep the change, ya filthy animal", but some store had made a jumper with the Christmas version on so if it was good enough for them, I'd go with it.

Starbucks have started selling candy canes at the counter and when me and my friends saw them we came out with this quote from Mean Girls. Then a little while later when we were sat down we heard some girls do the same thing!
I painted some candy canes on the sides of this bauble, but you can't really see them in the photos.

This one is my favourite. I'm really happy with the way I painted the letters.
And I love the film Elf, and I do come out with this quote whenever someone mentions Santa.

What are your favourite quotes from Christmas movies?

Tuesday, 19 November 2013

Christmas Speech Bubble Decorations

I'm well and truly in Christmas mode and for this little project  I was thinking of more alternative Christmas decorations.

I was inspired by this plaque that I made many years ago and have hanging in my room.

The hanging speech bubbles are made of Sculpey rolled flat and cut to shape.
You can't really tell from the photos but they're about palm size.
I painted them with white and black acrylic paint.
I like the uneven black lines. I think it gives them character.
That and I find it hard to paint smooth, straight lines.

I think these would look really fun displayed on a Christmas tree but would also work as decorations for other parts of the house.

Do you have any Christmas decorations that aren't the traditional red, green or gold?

Thursday, 7 November 2013

Gingerbread House Ornament

This post is more to share an idea than a finished product. Because the finished product didn't turn out too great...but I still like the idea!

Having made gingerbread men ornaments I thought a gingerbread house ornament would be fun, and you know how I like making miniature buildings.

I made some simple houses out of card and put a loop of gold thread between the roof so that they could hang.
I painted the houses with acrylic paint. The colour may have been the first mistake. It looks maybe a bit too orange for gingerbread.

For the icing/frosting detail I wanted something three-dimensional to replicate the real stuff.
I found this big tube of filler for 99p and thought it might be perfect for the job.

My Mum made me a piping bag out of greaseproof paper and I squeeze some of the filler in.
The piping in this photo isn't too bad, but other areas were a hot mess.
My piping skills aren't that bad - see last years actual gingerbread house - but the filler is thicker than icing and doesn't flow as well.

 This is what I ended up with.
I think the cardboard is too flat/lacking texture compared the filler which is maybe too big for the scale of the houses.

Any ideas for alternative ways to do this?
Or any other uses for the filler now that I have a whole tube of it?

Thursday, 31 October 2013

Gingerbread Men Ornaments

It might be a little bit too early to be thinking about Christmas, but I've got some Christmas craft fairs coming up so I need to think ahead.

In addition to the things I make for Etsy, I've been adding to my stock with some seasonal items.

This gingerbread man ornaments is made out of Sculpey - a flat base with the features added on - and then painted with acrylic.

I also made some smaller gingerbread men.
Gingerbros, if you will.

For these I painted on the features, using the tiniest brush, instead of making the bits with Sculpey first, as I thought that would get a bit fiddly.

I love how these turned out and I'm looking forward to seeing what people think of them [whether they buy them or not!]
My first craft fair of the season is this Saturday.
For anyone local reading pop down to the Letchworth Settlement between 10:00 and 4:00 for the Garden House Hospice Arts, Craft & Design Fair.

Tuesday, 4 December 2012

Plastic Christmas ornament

This one's for the kids.
Specifically the kids in my Mum's class as this is an activity she came up with for them, I just made the example for her.

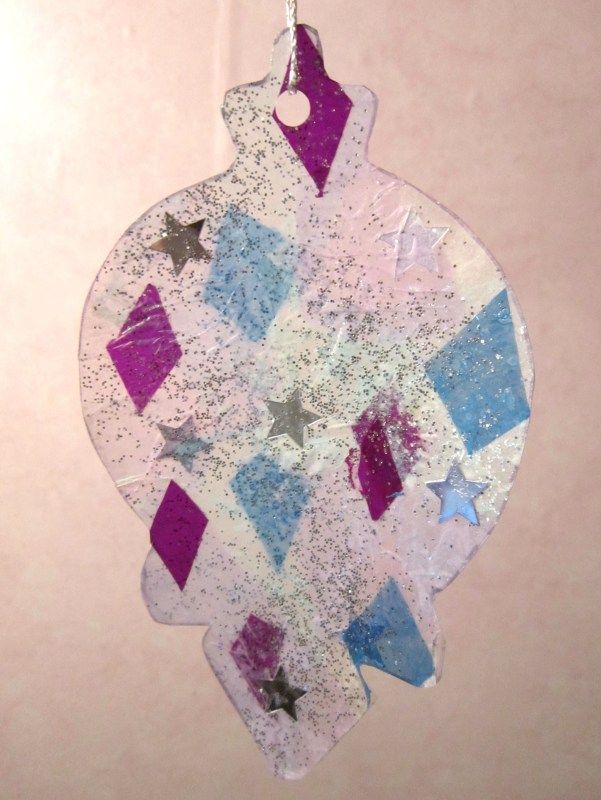
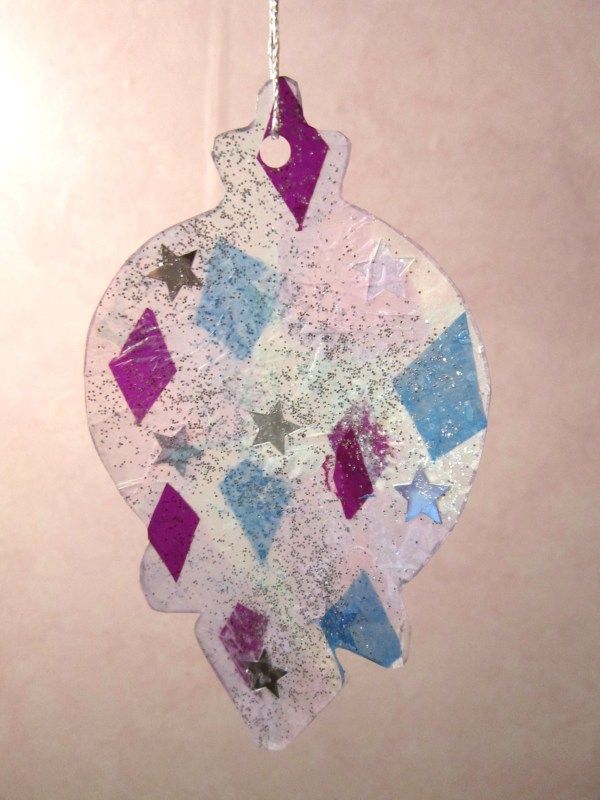
Here's how they'll be making a shiny Christmas ornament.

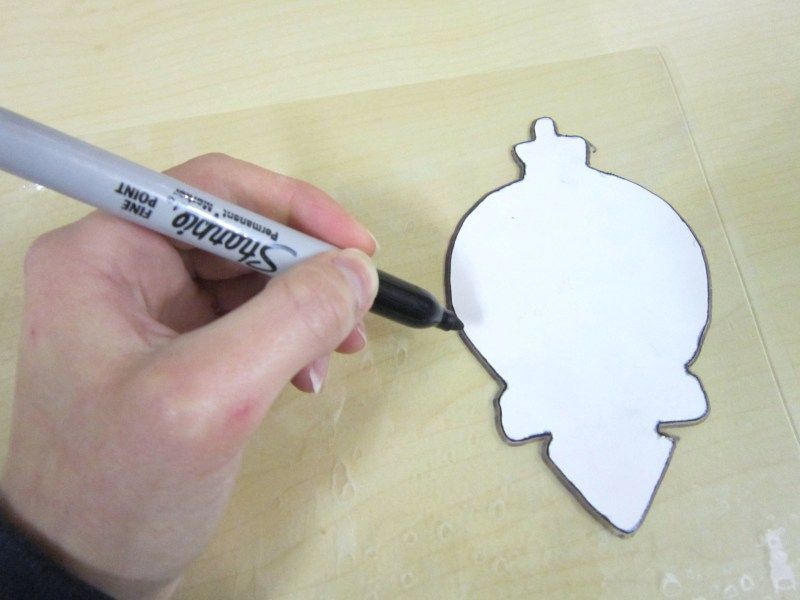
Draw around an ornament template with a permanent marker onto a piece of plastic.
Or you could freehand it - go crazy!
I used a piece of laminate but any clear plastic packaging would work. 

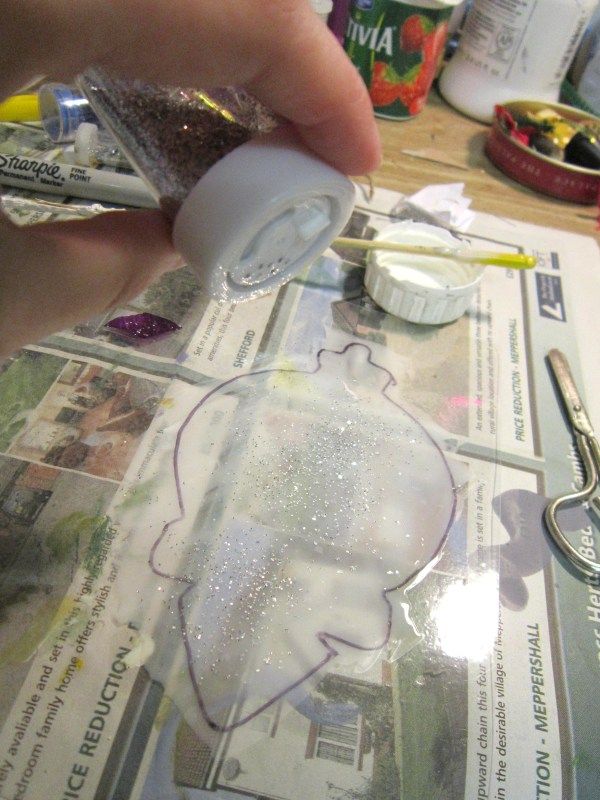
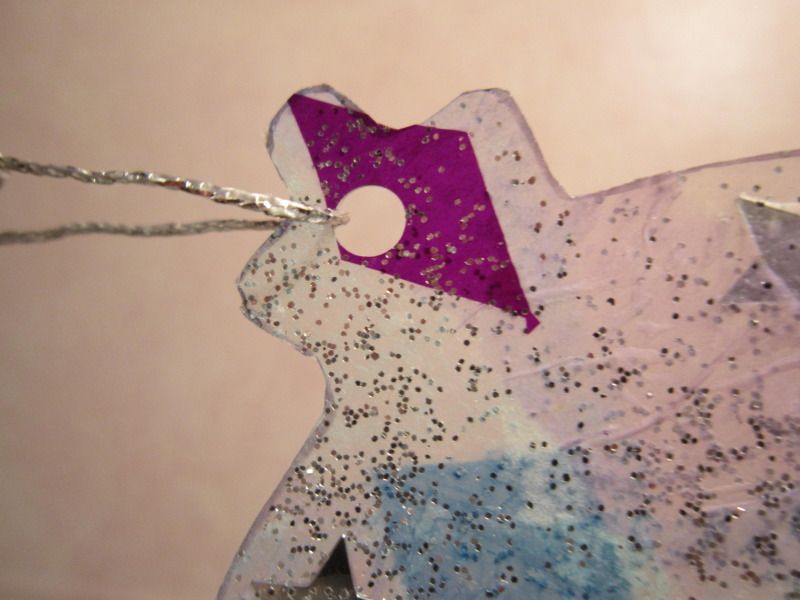
Start the decorating by covering the plastic in glue and shaking on some glitter.
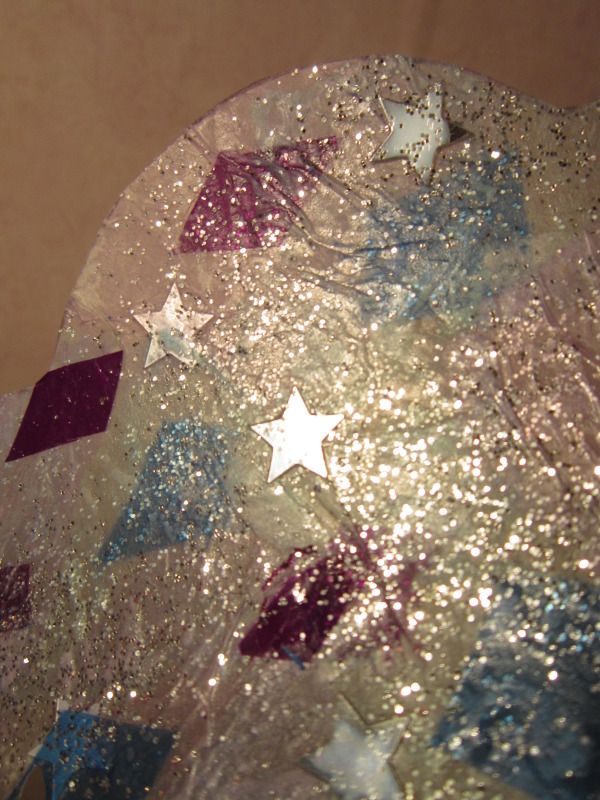
Lots of glitter.

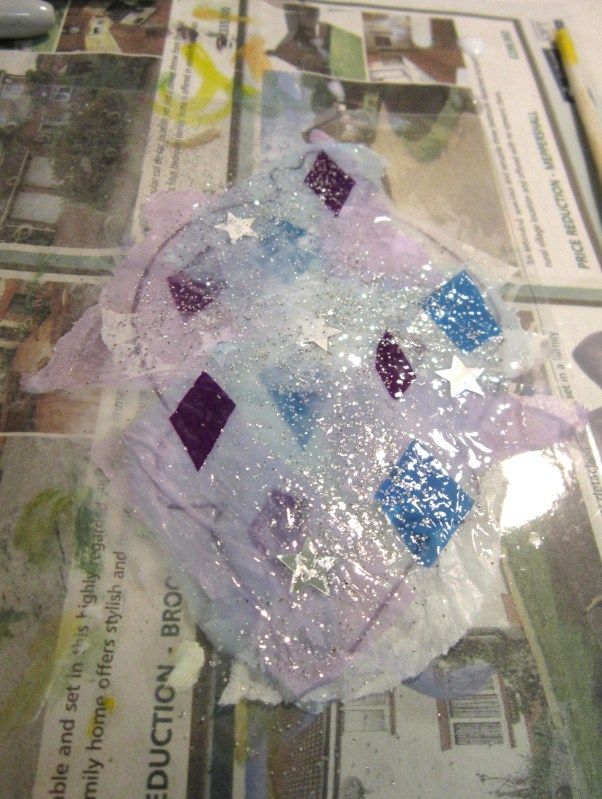
Then add more glue and bits of tissue paper, shiny paper, sweet wrappers, and more glitter.

When the glue has dried cut out the ornament, punch a hole in the top and attach some shiny thread.

This would look great hanging from the Christmas tree, but I can't show you that because we haven't put ours up yet!

Check out all that glitter.
Shine bright like a diamond, y'all.

Related Posts Plugin for WordPress, Blogger...