home aboutme myart books shop
Showing posts with label pattern. Show all posts

Friday, 5 December 2014

Nordic Pattern Candle Holder

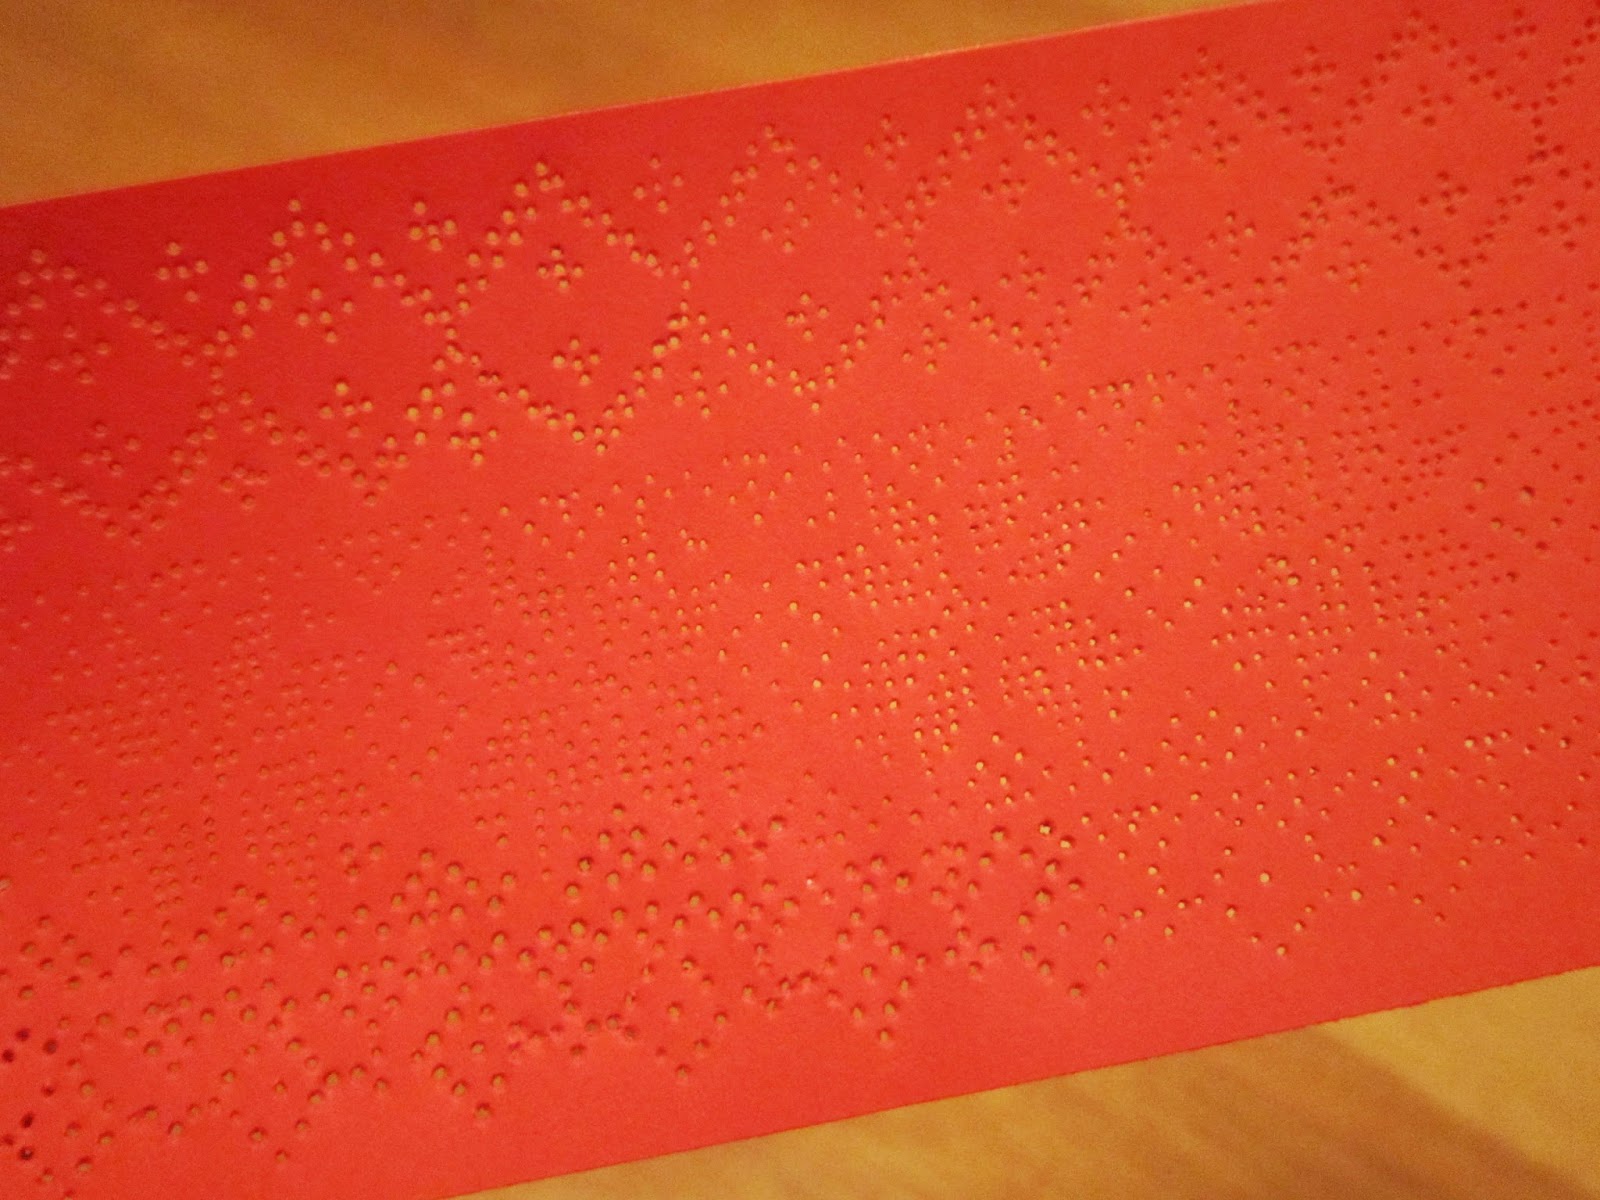
Glowing candles, Nordic patterns and the colour red are all quite Christmassy which is why I love my latest DIY. Here's how I made this candle holder.

I printed a section of Nordic pattern off the internet and cut a piece of red paper the same size.

I layered the pattern paper over the red paper and paper clipped them to a piece of cardboard. Then with a needle I poked holes all over the pattern, going through both pieces of paper.

It took a very long time but I was really pleased with the result.

I then wrapped the paper around a plastic container and secured it with tape at the back.

To complete it I put a tea light candle in the pot, lit it, and enjoyed the Christmassy glow.

Thursday, 7 August 2014

Doodle Activity

Have you heard of the doodling exercise 'take your pencil for a walk'? My Mum introduced me to it and I used to do it all the time as a kid. You draw all over a piece a paper, keeping the pencil on the page the whole time and crossing over to make loops. Then you can just colour in the sections, or fill each part with a different pattern.

One of the kids art sessions this week was all about creating colourful patterns so I thought I'd start with this activity. 

I gave the children A3 paper as the A4 (which I'd used for mine) looked too small. I thought it would be easier for them to fill the sections if they were a bit bigger. But to my surprise most of the children filled their sections with tiny, detailed patterns, meaning they didn't all have time to colour in their patterns before moving on to the next activity, but they can always do that at home.

I suggested that they should only use four different colours so they'd have to think carefully about colour combinations, and I think the pieces look better when they is a colour theme.

The 4 year old who created the piece on the left decided to use all of the colours and the crayons and felt tips. Mix of colours and textures? I'm down with that. Her 7 year old brother whose work is on the right announced that he'd be 8 by the time he finished it. 

I was impressed by how many different kinds of patterns the children came up with. I was expecting just a lot of spots and stripes.

This activity kept the children (well, except the 4 year old) quiet for a good 30/45 minutes. Keep that in mind parents/teachers/babysitters! 

Tuesday, 22 April 2014

Sculpey Print Dishes

On my last trip to the Scrap Store I picked up these rubber stamps and had the idea to use them to imprint into Sclupey.

I rolled out a piece of Sculpey into a rough circle and pressed the stamp into it. I had thought about glueing the stamps onto a wooden block, like they're supposed to be, but the flexibility of the stamps on their own was useful for this project. 

I curved the Sculpey circle into a shallow dish and baked it following the instructions.

To decorate the dishes I started by painting the whole thing in one colours using a paintbrush. Once this was dry I went over it with a light tone of the colour using a sponge so the dark colour would show through.

Once all the paint was dry I sprayed the dishes with a couple of coats of clear varnish.


Related Posts Plugin for WordPress, Blogger...