home aboutme myart books shop
Showing posts with label diy. Show all posts

Wednesday, 23 September 2020

Handmade Baskets

Today I'm sharing how I made baskets out of newspaper. Legit baskets! Out of paper!
I'd seen this project a long time ago on Pinterest and lockdown finally gave me the opportunity to try it out.

I looked at a few different tutorials and I suggest you do the same if you want expert advice! This is the tutorial that I followed. It's just pictures so there were some bits I had to figured out for myself.

I started by ripping sheets of newspaper in half along the long side, and then rolling them at an angle into long tubes, secured with a bit of Pritt stick at the ends. One end will be wider than the other and that's meant to happen and will be useful later.

Once you have a bunch of tubes you need to sandwich them between two pieces of cardboard with a lot of PVA glue, which will be the base of the basket. You need an odd number of tubes +1 around the edge so the weaving works. I learnt this by having an even number in my first attempt which messed up my over/unders. The +1 is the tube you start off weaving with.

Once the glue is dry fold the tubes up and secure them to a box with pegs. It helps to choose your box first and then cut the cardboard bases to fit it.

Then get your weave on, starting with the extra tube you stuck in the base. When the tube you're weaving with gets too short, stick the thin end of a new tube into the end of the first tube.

When you've reached your desired height, fold and tuck the ends of the tubes in a way that I can't explain but you might be able to see in the picture. Now would be a good time to check those other tutorials online.

Then there's some more folding and tucking to finish the top.

I then painted my baskets white with house hold emulsion, but most paints will do; acrylic, pre-mixed bottle paint etc.

I decorated one of my baskets by painting a gradient/ombre effect using turquoise paint mixed with different amounts of white.

For the other basket I managed to sew a lining which fits inside.

And that's it! I now consider myself a basketeer!

I can't wait to make more in all different shapes and sizes. I never need to buy a basket again! 

Monday, 15 June 2020

DIY Fabric Baskets


In another attempt to use some of my fabric stash I made these fabric storage baskets. Who can resist a storage basket!

I didn't take many photos of the process as the tutorial I followed does a much better job at showing how to do it. I used this tutorial by Fabric Mutt as a guide for making my baskets.

I altered the size of my baskets and did something different with the tops, but that tutorial is a great starting point. I also added a piece of card to the base of the basket, underneath the lining, so keep it square and add some strength.

I also tried out different things for the handles. For this one I made a strip of fabric and sewed the ends to the baskets with two buttons.

Shout out to my sister for this awesome unicorn fabric!
This fabric is a bit thinner than the navy florals so I added some interfacing behind it for some added support.

Now that I know how to make these baskets I'd love to go bigger and make a whole range of baskets.

Saturday, 1 December 2018

DIY Wooden Tree Advent Calendar

For the past two years my boyfriend and I had been using this advent calendar that I made. But because it was made out of cardboard boxes that had to be glued shut, and therefore torn open, it was time to replace it.
The size of the boxes was also a bit limiting when it came to buying things for each other to fill them, which is something I took into consideration when I started thinking of a new DIY advent calendar.


This is what I came up with.
A wooden tree with hooks to hang on numbered baubles. The baubles are stuck to 24 little gifts, kept in a box alongside, and when a gift is opened it's bauble is hung on the tree. So the fuller the tree, the closer we are to Christmas!


To make this advent calendar I got some thin lengths of wood and coloured them with wood stain so they would match some of the furniture in our living room.
I cut 6 pieces of wood in decending lengths for the branches of the tree, plus one long piece which would be the trunk.


Figuring out the sizes took some planning, especially since 24 doesn't easily work in a pyramid layout. So instead of the branches having 1, 2, 3, 4 etc baubles on them, mine go 1, 2, 4, 5, 6, 6.


I hammered little nails into the branches which would be the hooks for the baubles to hang on.


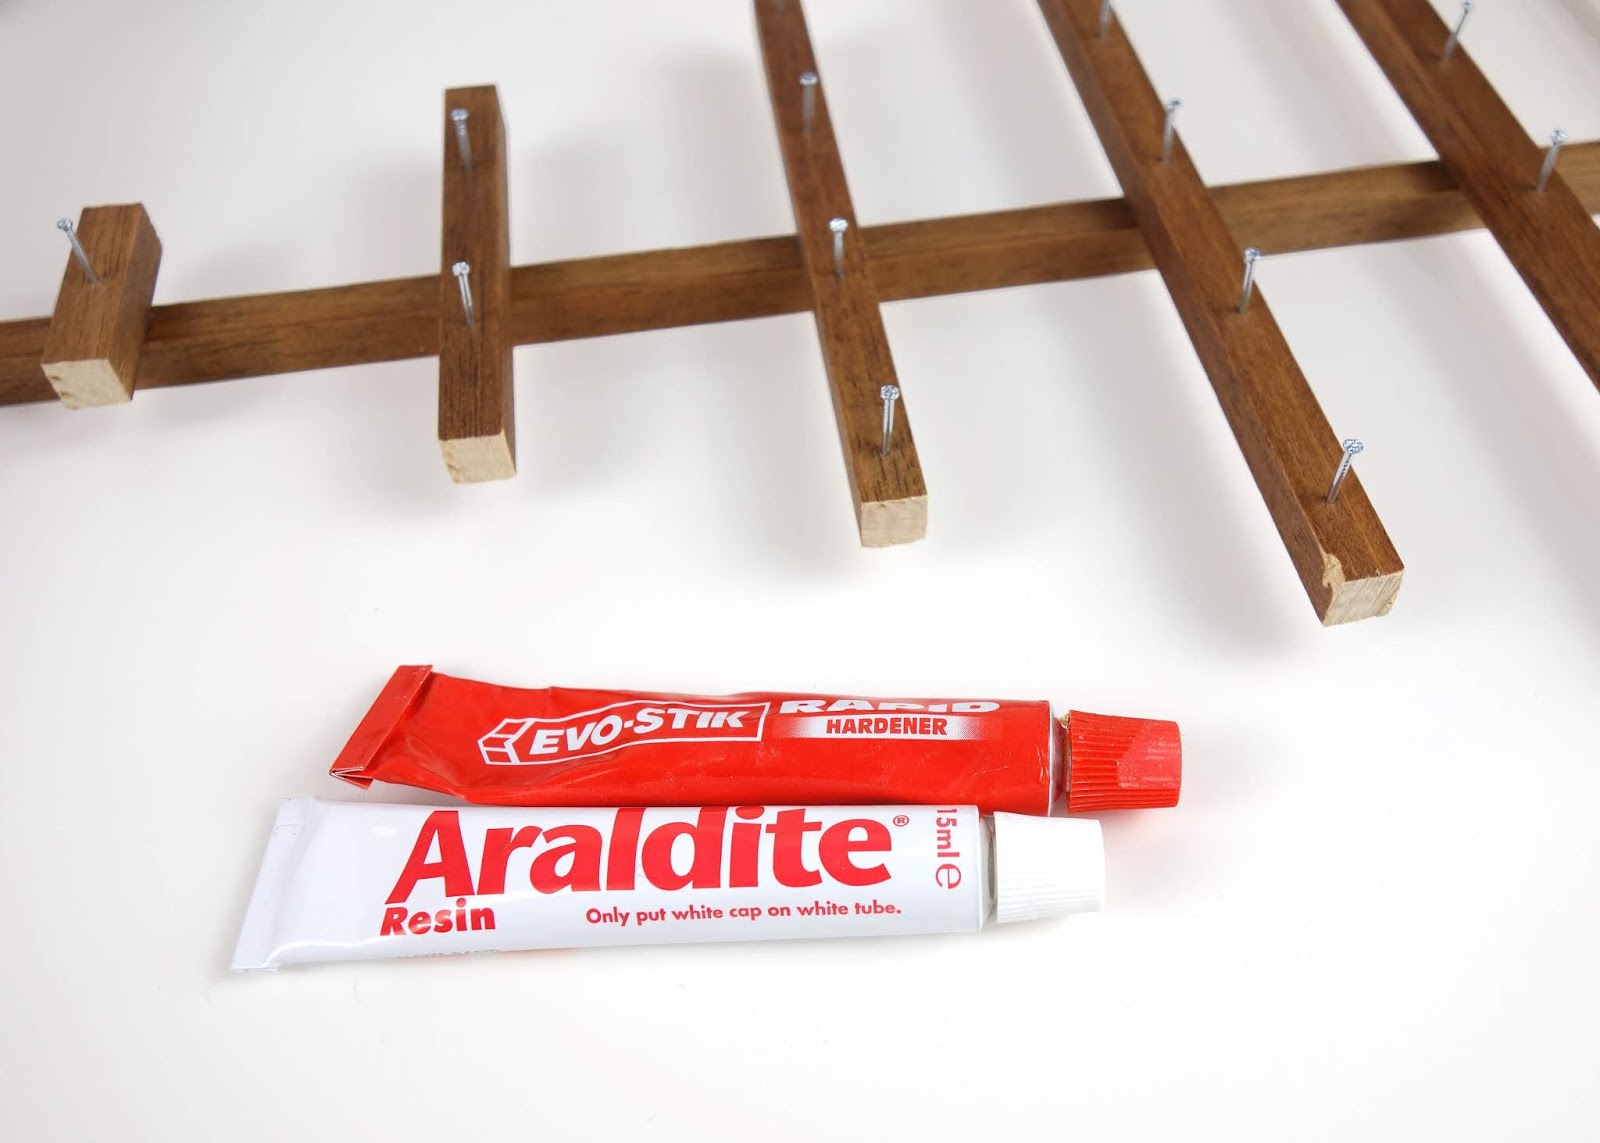
Then I glued the branches to the trunk using a strong epoxy glue. It wasn't until I took this photo that I realised I used two different brands of tubes, but they still worked when mixed together.

I also screwed an eye screw into the top of the trunk and attached some twine so that I could hang the tree on the wall.


I bought two packs of 20 mini baubles, ommitted the glittery ones, and numbered the rest using a white paint pen. I might re-do this at some point using number stickers to make it look a bit neater.


Then all that was left to do was wrap the 12 gifts I bought for my boyfriend, which I've been gathering for the past month, and attach the baubles. Then I gave him the other half of the baubles for him to do the same with the gifts he bought for me...yesterday. But what's good about this advent calendar is that you don't have to have all the gifts ready on December 1st as you can add them to the box at any time. So it gives people who have had a particularly busy November a bit of wiggle room.

I really love how this turned out and I hope we'll be using it for many years to come!

Tuesday, 19 September 2017

DIY Jewellery Door Hanger


It seems with every place I live I have to come up with a new way to display and store my jewellery, and moving into my new house was no exception. I came up with an easy way to hang all my jewellery that didn't take up too much space but meant I could see it all at once.

I started by drilling some holes into a long, thin pice of wood. On the bottom I drilled the holes that the little hooks would screw in to, and on the top I drilled holes big enough to fit a kebab skewer.

I put the kebab skewer snuggly in the holes and sawed off the excess so there was about 2cm sticking out. These sticks are to put my rings on.

I painted the wood, first with primer and then glossy white to match the doors it would be attached to.

When the paint was dry I screwed in the metal hooks to the pre-drilled holes.

I attached the hangers to the inside of the door of my built in wardrobe using command strips. I've got a lot of love for those strips.

I like how the hooks and sticks keep everything in its place meaning I won't end up with a tangle of chains. And now my jewellery is kept right next to my clothes which is perfect for when I want to accessorize an outfit.


Check out my previous creative solutions to jewellery displaying.

Pin it!

Related Posts Plugin for WordPress, Blogger...