home aboutme myart books shop

Friday, 3 March 2023

Harry Potter Fabric

A few years ago my sister gave me some scraps of Harry Potter fabric and since then they have just been sitting in my fabric drawers, waiting.

Then this past week I finally dug them out and made something with them!  

Here's what I had to work with. The pieces are very small and some have the house crest very close to the edge. And sorry Hufflepuffs, you don't get represented here. I don't know why there isn't fabric for all four houses, this is just what I was given.


The first thing I made was this Slytherin zipper pouch, as that was the biggest piece I had to work with. I used some black fabric, including some black leatherette, and matching green ribbon.

I then made a Gryffindor pouch but didn't have a strip of the fabric long enough to fill the pouch, so instead I cut out the crest, gave it a felt border and sewed it to some matching red fabric.

With a few more pieces of the fabric I made these hanging decorations. To make these I cut out the shapes using my Cricut and added some iron-on interfacing behind the fabric. Then I sewed the pieces together, adding in these strings of shiny beads.
I could see these hanging on a Harry Potter fan's Christmas tree. It's a shame about that missing Hufflepuff fabric as it would have been nice to make a whole set.

It was great to add a few more items to my craft fair stock using materials that I already had. The various fabrics, zips, felt and embellishments all came from my craft stash, which shows that I should never throw anything away as you never know when it'll come in useful!

Saturday, 18 February 2023

Sweet Treat Keyrings

I recently bought a box of 100 key ring chains to start building up my stock. I want to do more craft fairs throughout the year, rather than just Christmas ones, so I need to make more non-Christmas items.

I've made donut keyrings before so I thought I'd continue with that theme and make some other sweet treats. I started with these felt ice lollies, featuring a real lolly stick.

Then I made some ice cream cones. This was a great little project because these treats can really be any colour so it gave me a chance to use some of the other colours in my felt stash, rather than the neutral colours I use all the time for my felt dogs.

For the ice cream cone I added some stitching detail with my sewing machine. I'm really pleased with how that turned out. I also really like this style of decorating with the sequins and beads.


 And finally I made a few cupcake keyrings, decorated with bead sprinkles.

So that used nine of the key ring chains. Now to think of something for the other 91...

Sunday, 22 January 2023

Framed Minature House Commission

Today I'm sharing a recent commission I've just completed. It's a miniature framed house front.
I've made a front door like this before but not the whole front of the ground floor. The bay window was an added challenge!

And I was asked if I could possibly make a working porch light! This was quite easy once I found the right lights; a set of fairy lights with a slimline battery and switch. I only needed one light so the rest are hidden in the frame. 

All of the plants were another challenge which took a bit of experimenting but I ended up using a combination of bits of sponge, pot pourri, and dried mixed herbs.

I think my favourite thing about this piece is the hanging baskets. I found a couple of wooden beads that I was able to saw in half to use for the baskets. I built up bits of sponge for the plants and used an old necklace for the chain which I attached with small pins.

I cut a custom mount for the piece and found a shadow frame which had a bit of depth to house the porch section and keep everything neat. 

Thursday, 22 December 2022

Making Christmas Cards With A Toddler

I promise I won't only post to this blog with each year's Christmas card, but this year has been a busy one looking after my baby-turned-toddler! I'm hoping to post more in the new year.


But anyway, here is this year's Christmas card, made in collaboration with my 14 month old.

My original plan for the cards was to do a foot print Christmas tree, but as soon as I went near my son's foot with the paint he freaked out. He wanted to paint with the paint brush instead. He doesn't need to use his feet anymore, he's not a baby!

So I moved to plan B and grabbed a few coloured sheets of paper and more paint, and let him artistically express himself. He was very opinionated about what colours he wanted to use, though he did get a bit distracted by the lids going on and off.

So far my only tips for painting with a toddler are wear something you would mind getting paint on, and have wipes to hand!


These are the finished paintings. Beautiful work.


I then made some templates and cut the shapes out of the three paintings to become the stack of presents.

After sticking down the presents, I added some gold ribbon and a bow, and a little Merry Christmas tag.
Like last year, I stuck a photo of my son doing the painting to the inside of the card so the recipients can see how it was made.

I really like how these cards turned out and it's a simple way to use your kid's more 'abstract' artwork.

Sunday, 19 December 2021

Making Christmas Cards With A Baby


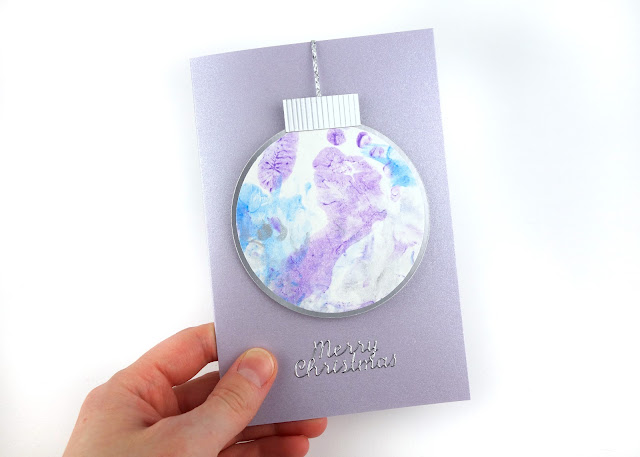
Today I’m sharing the Christmas cards I made this year with a little help from my almost 3 month old baby.

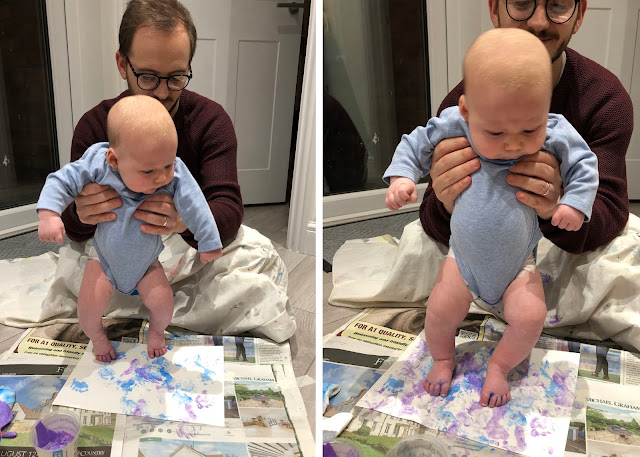
First I needed him to do some painting. I went for feet painting as that boy loves a clenched fist so hand prints were never going to happen. Also it meant the paint was further away from his mouth!
We got his Dad to help us and made footprints with blue, purple and silver paint. My tip is to tape the paper to the floor so it doesn’t move around.

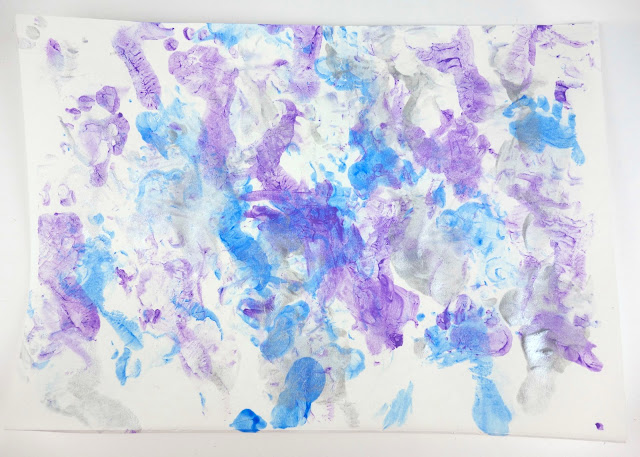
This is the result. To make whole footprints I had to press his foot down, which we did a few times, but other than that I just let him make marks on the paper. It’s abstract!

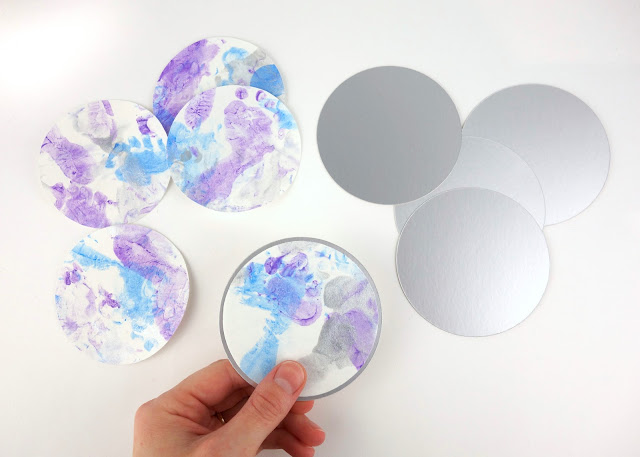
Next I cut out circles from the painting. I drew around the inside of a sticky take roll which allowed me to see which paint sections I wanted. 
Then I used my Cricut to cut out some circles of silver card which were slightly bigger than the painted circles. Then I glued the two together, with the silver card acting as a frame for the painting and making it thicker.

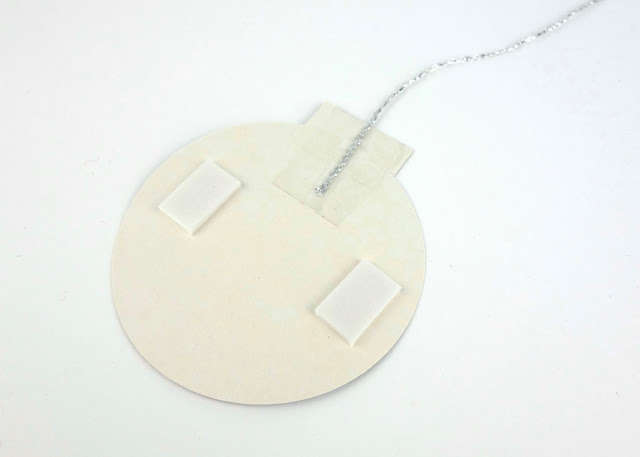
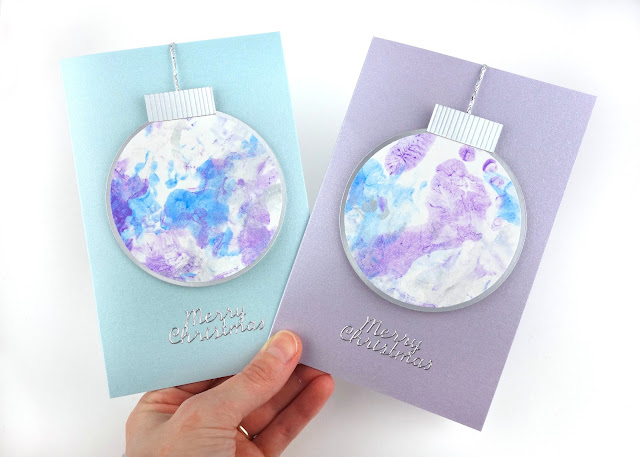
To turn the circles into baubles I added a little strip of silver card to the top and attached a piece of silver thread. To stick them to the Christmas cards I used sticky foam squares so they would stand out a little bit.


I used blue and purple cards to match the paint and added a ‘Merry Christmas’ sticker at the bottom.

I also included a photo of my son doing the painting so the recipients know how the card was made!

I love how these turned out. I wonder what we'll come up with next year!

Thursday, 30 September 2021

Black and White Baby Blanket + Baby!

My lack of blogging over the last few months has been because I've been busy growing my house and growing my family. It's been a busy year! More on my house extension another time, but first: here's my baby!

When my maternity leave started in September one of the first things I wanted to do before my son arrived was make him a blanket. I'd read that newborns like high contrast black and white patterns so I started by going through my fabric stash and pulling out every black and white piece I have and cut out squares from them.

These are the patterned squares which include a few oil cloth pieces to vary the textures.

These are the black squares which include some leather effect pieces, a velvet piece and a suede piece, as well as regular cotton.
I also cut out a number of white squares but I only had white cotton fabric so they're not particularly interesting.

Once I'd cut out my squares I laid them out, alternating between black, white and patterned pieces.

I collected the squares into piles of each row and sewed them together into strips, using a 10cm square piece of paper as a size guide.

Once I had all the rows sewn I attached them all together.

I then sewed long strips of plain black fabric around the edge of the patchwork as a border.

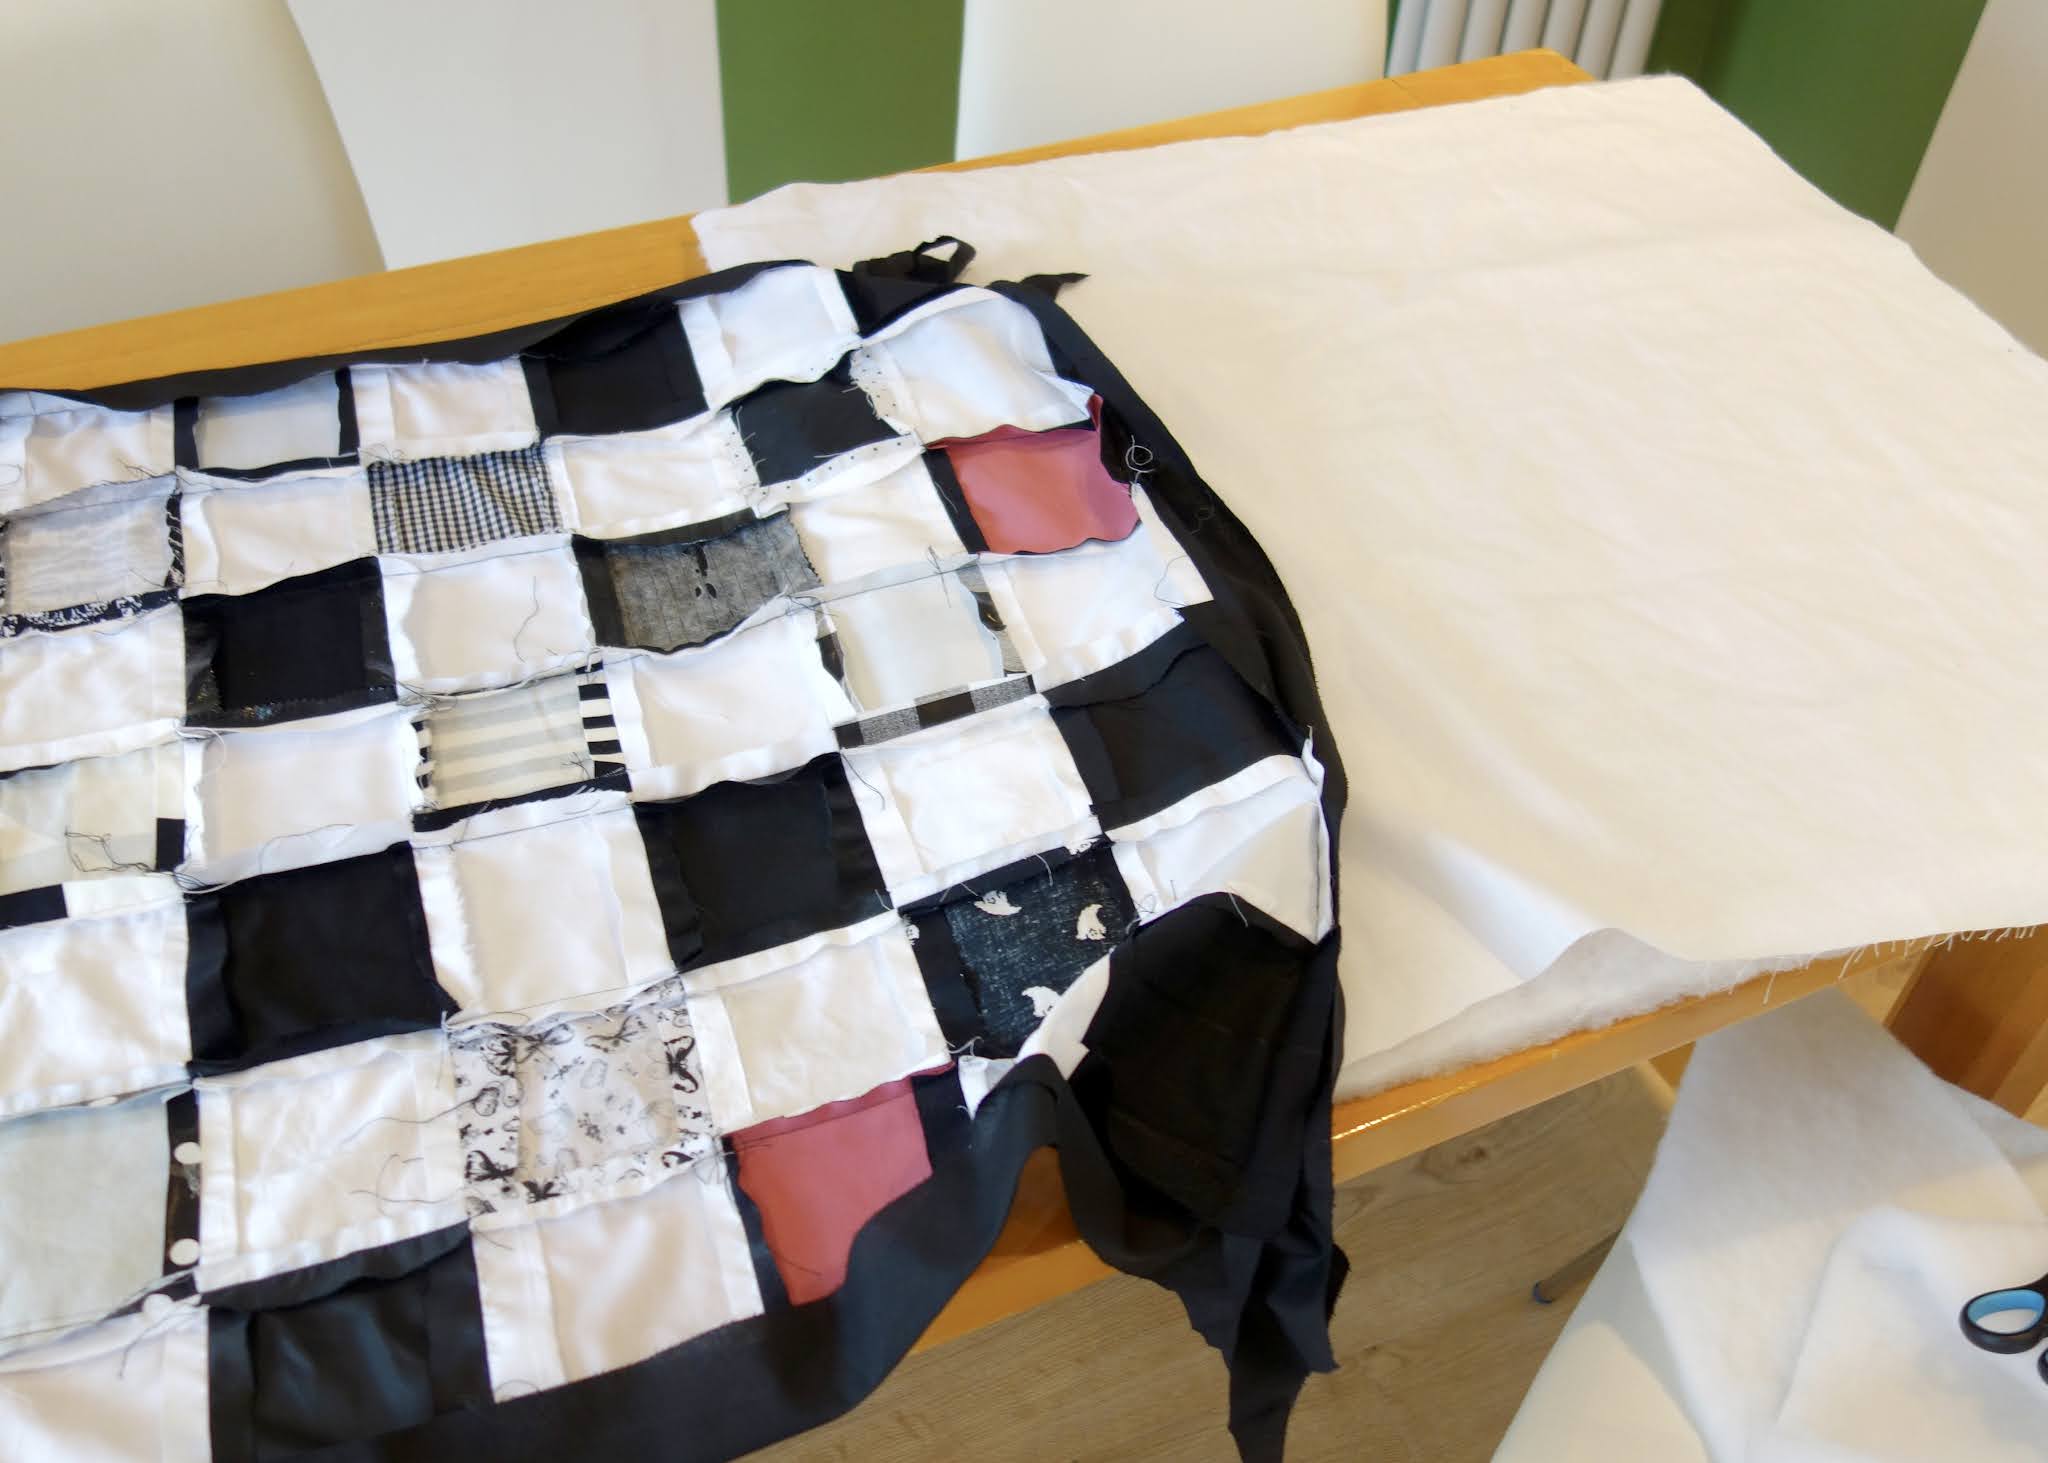
Next I cut a piece of wadding and a piece of plain white cotton fabric the same size as my patchwork layer.

I sewed the black strips around the edges all three layers and also tried sewing across the layers in true patchwork style. This got a little untidy where the fabric started the crease, especially on the back, but not bad for a first attempt at this sort of thing.

Then I just needed to tidy the loose threads and then out the blanket in my son's arrival, which happened a few weeks later.

And here he is at 6 days old trying out the blanket for the first time. I think he liked it!

Saturday, 15 May 2021

Framed Miniature Front Door

Today I'm sharing this framed miniature front door. What I like about this miniature project is that it also doubles as decor as it can be hung on the wall.

Check out the video at the bottom of this post for the full run through of how I made it. But first, here's a few details.

I created the brick wall by using a handmade stamp made from a rubber. I used this technique a lot when I was at uni, as you can see here.

I added some 3D elements to give the piece some dimension, like the plants on the doorstep. These were made using little bottle brush trees which I trimmed to give a flat side and painted a more realistic colour.

I think these would make great presents to celebrate a new home or commemorate leaving an old one. They'd be easy to personalise and you could even write the house address on the mount.


Related Posts Plugin for WordPress, Blogger...