home aboutme myart books shop
Showing posts with label christmas craft. Show all posts

Saturday, 7 December 2024

Christmas Gnomes


Something new I've made for this year's Christmas craft season is these Christmas gnomes. I know they're called gonks but that word just sounds weird to me.


These came about as I was looking for a way to use some cardboard cones that my Mum had given me. She got them from some wool that was given to her, which was wrapped around the cones. 
I asked her to crochet me some red and green hats for these gnomes and I put the rest of them together. The beards are made of some white fake fur, and the noses and arms are made of felt.

For some of the gnomes I put a pipe cleaner in the hats so they could be bent over, which I think looks very cute.


I really love this guy whose hat is decorated like a Christmas tree! I probably should have used a bigger pom pom on the top, but I didn't have one. Oh well, it adds character!

Take a look at how I made these guys in the video below, along with another idea for using the cones.

Sunday, 19 December 2021

Making Christmas Cards With A Baby


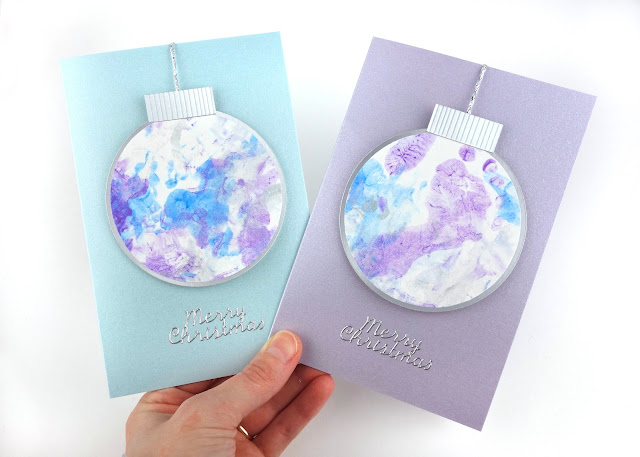
Today I’m sharing the Christmas cards I made this year with a little help from my almost 3 month old baby.

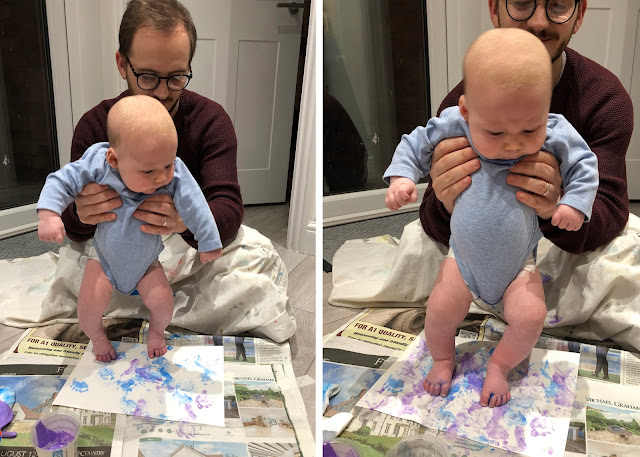
First I needed him to do some painting. I went for feet painting as that boy loves a clenched fist so hand prints were never going to happen. Also it meant the paint was further away from his mouth!
We got his Dad to help us and made footprints with blue, purple and silver paint. My tip is to tape the paper to the floor so it doesn’t move around.

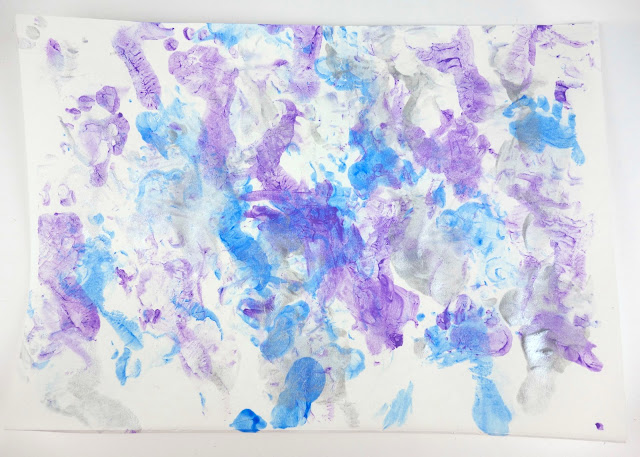
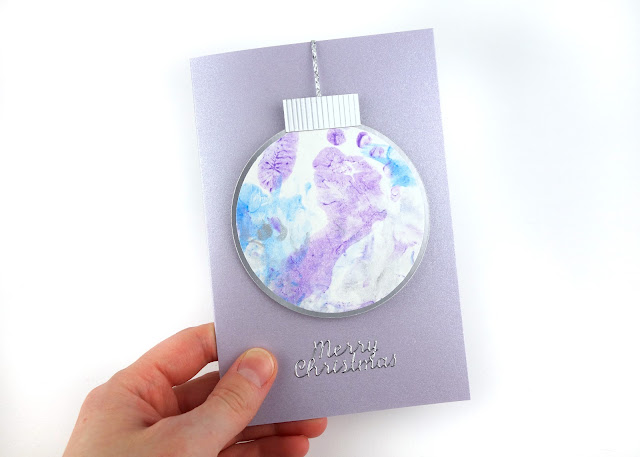
This is the result. To make whole footprints I had to press his foot down, which we did a few times, but other than that I just let him make marks on the paper. It’s abstract!

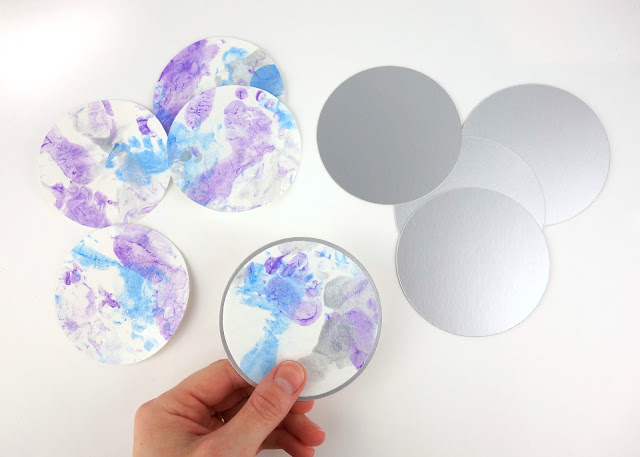
Next I cut out circles from the painting. I drew around the inside of a sticky take roll which allowed me to see which paint sections I wanted. 
Then I used my Cricut to cut out some circles of silver card which were slightly bigger than the painted circles. Then I glued the two together, with the silver card acting as a frame for the painting and making it thicker.

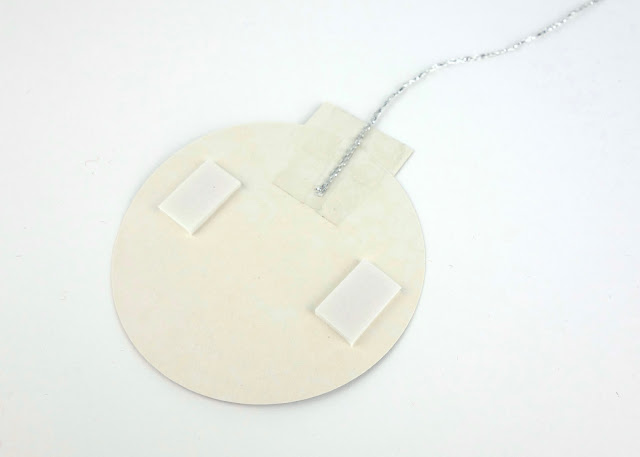
To turn the circles into baubles I added a little strip of silver card to the top and attached a piece of silver thread. To stick them to the Christmas cards I used sticky foam squares so they would stand out a little bit.


I used blue and purple cards to match the paint and added a ‘Merry Christmas’ sticker at the bottom.

I also included a photo of my son doing the painting so the recipients know how the card was made!

I love how these turned out. I wonder what we'll come up with next year!

Saturday, 19 December 2020

Christmas Canvas Banner


This Christmas banner is another craft project that I completed during the first lockdown. I often get ideas for Christmas projects during the Christmas period, by which point I'm too busy with my Etsy shop to make them happen. So I made use of all the time at home earlier in the year to make some of these Christmas ideas. 

I started by cutting out two banner shapes from canvas and drawing a circle on one of them.

I used my Cricut to cut out holly leaf shapes from different shades of green felt. Then I sewed them around the circle on the canvas.

I printed out a 'Merry Christmas' template and sewed over it with red embroidery thread. Then I tore away the paper when it was finished.

I forgot the take photos of the final stages! Oops!
I sewed the two canvas pieces together, right sides in, then turned them right sides out. Then I folded the top over, enough for a wooden dowel to fit through, and sewed that in place.

I also added some red pom poms on the front as holly berries.

Then I added some ribbon so the banner could be hung.

It turned out so good! Hopefully next year Christmas craft fairs will be back and I can find a home for it.

Related Posts Plugin for WordPress, Blogger...